Completed for now? Building a simple bipedal robot Part 9
Toon Robotics is supported by its audience. When you purchase through links on my site, I may earn an affiliate commision.
Previous Development
Previously, I assembled Ver.2.
Finally, color printing!
Now I will print a slightly modified version of the previous Ver. 2 (let’s call it Ver. 2.1) in color. So far, I have used Z-HIPS filament for Zortrax M200 Plus, but this time, I will use Z-ABS. (Figure 1)

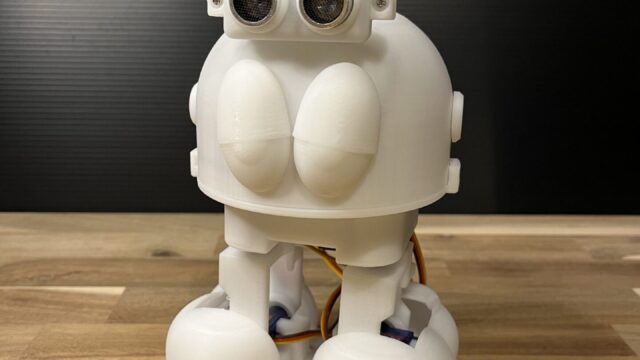
The printed version is shown in Figure 2.
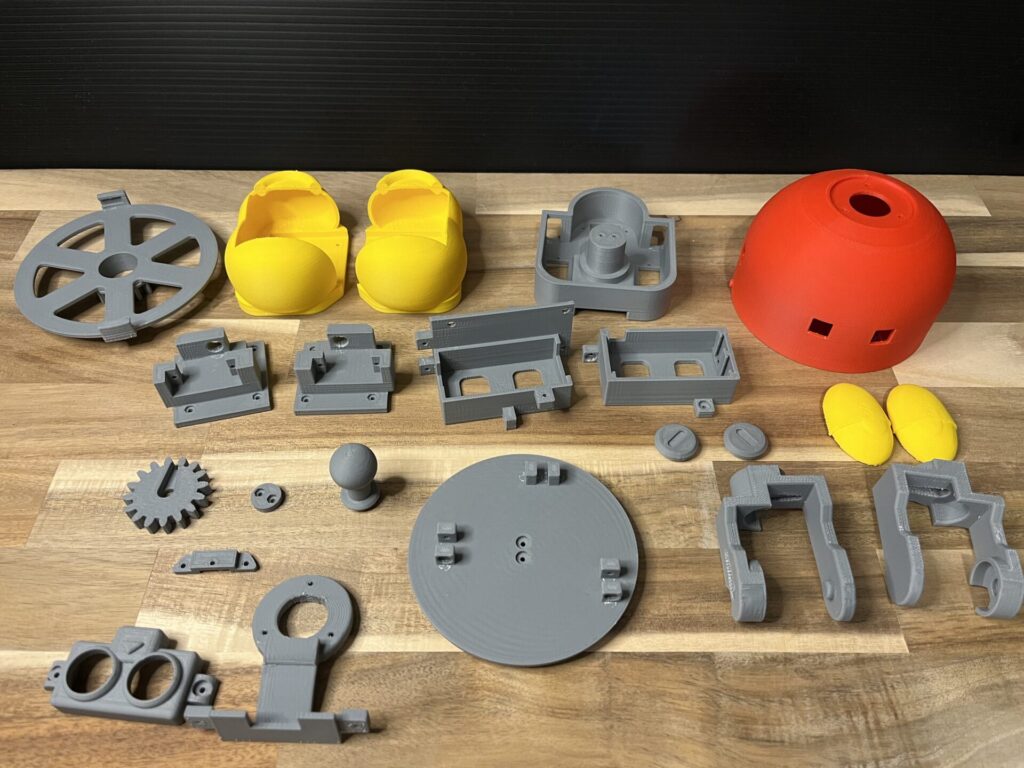
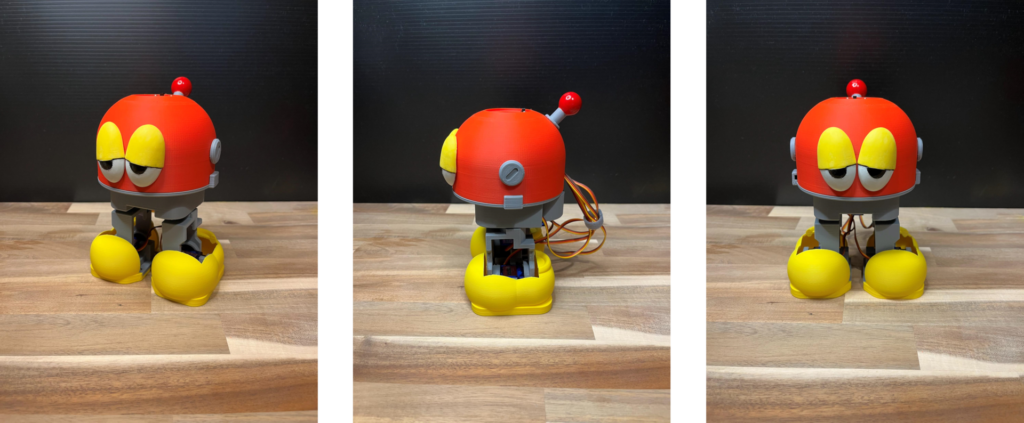
Now, let’s start assembling. The basic parts are the same as Ver.2, but I have modified some minor parts. (Figures 3 and 4)
Servo motor is SG92R as before.
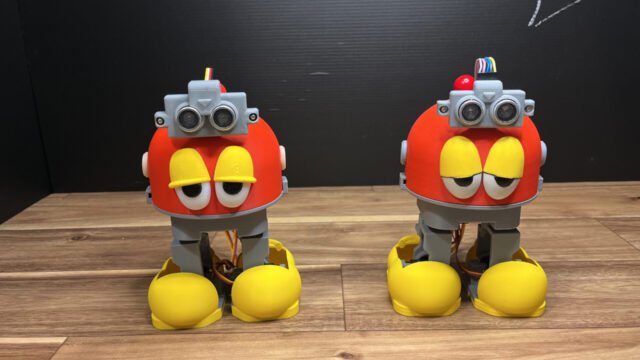
The impression changes when it is colored.

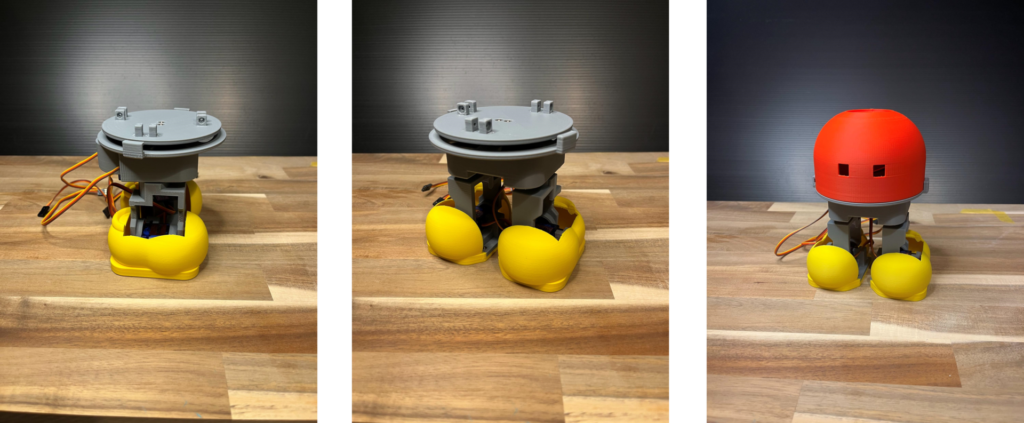
I paint decorative parts such as eyes and antennas. It was quite tedious, so it would be better to color this with a 3D printer…(Figure 5)

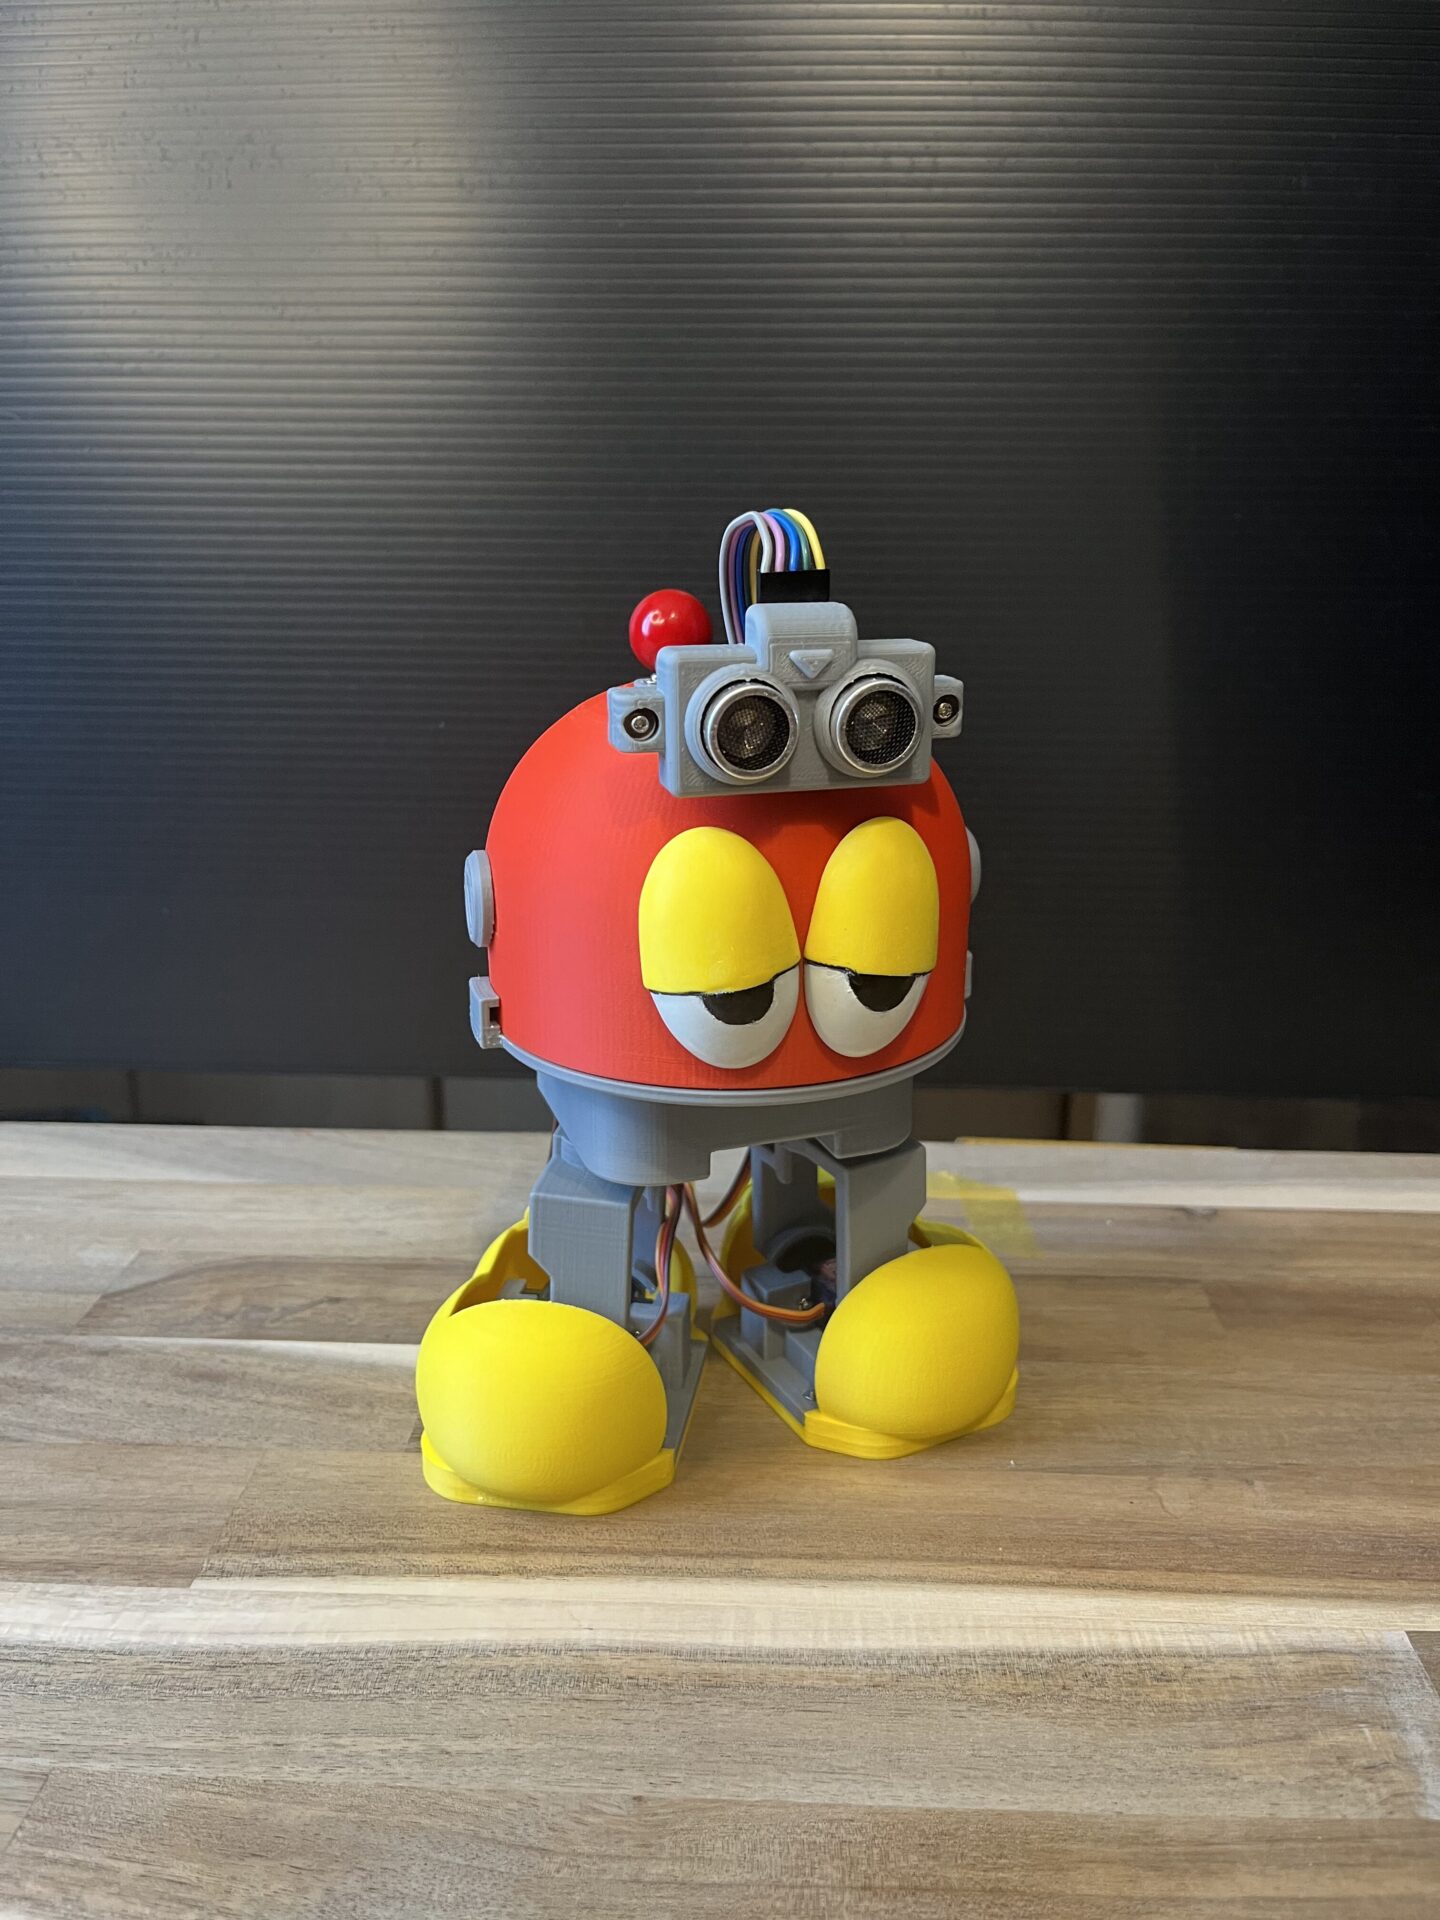
Now I can attach these to the head cover, and I completed the assembly of the main part. It looks good. (Figure 6)
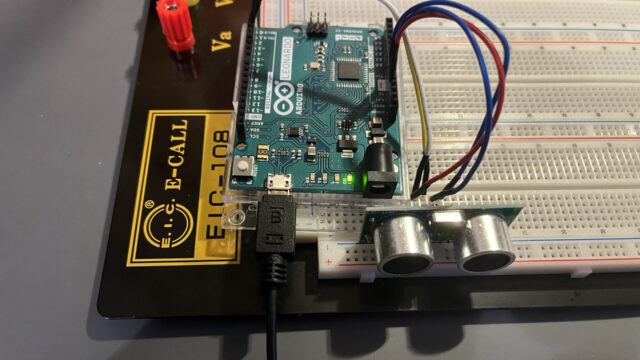
Finally, a sensor using the US-100 ultrasonic distance-measuring sensor is mounted to complete! (Figure 7)

Let’s move it!
Now, let’s actually run it with a simple program. The robot performs a walking motion, and when it detects an obstacle with the ultrasonic distance sensor, it shakes its head and stops.
This program manages the US-100 ultrasonic distance sensor in the manner described in a previous article here.
There are still a few more things to be corrected, but it seems to be approximately complete!
Next
I will begin creating more complex motions and implementing detailed functions for movements in the next article.
For the latest status, check here.