Make 3D printable mounting parts of SG90 (STL file available!) – Horizontal mounting ver.
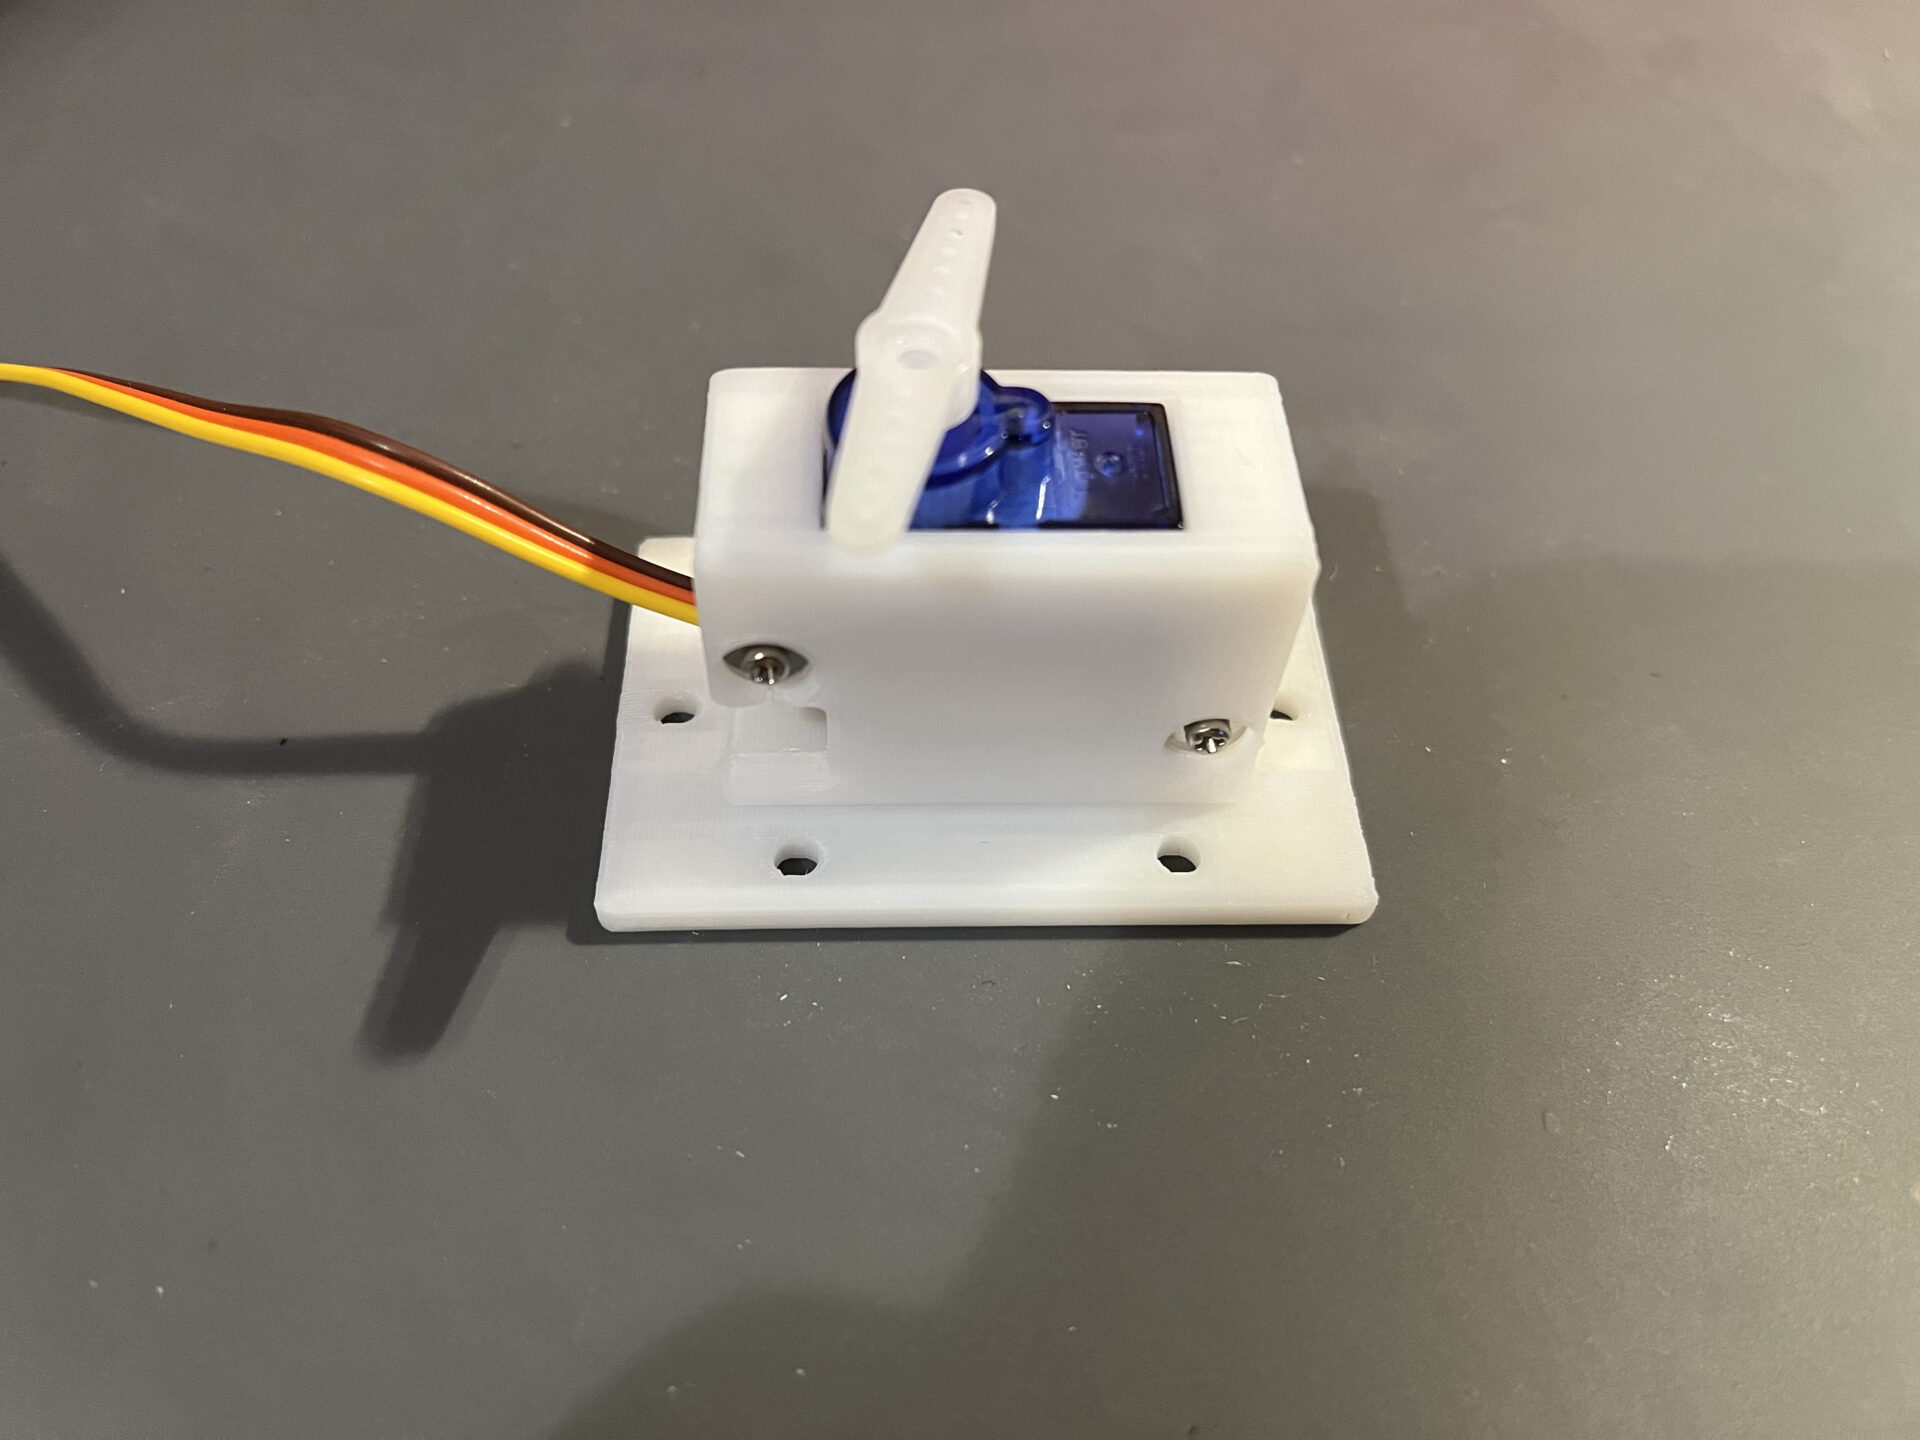
The data is distributed at “STL File Release”!
SG90 servo motor and its mounting
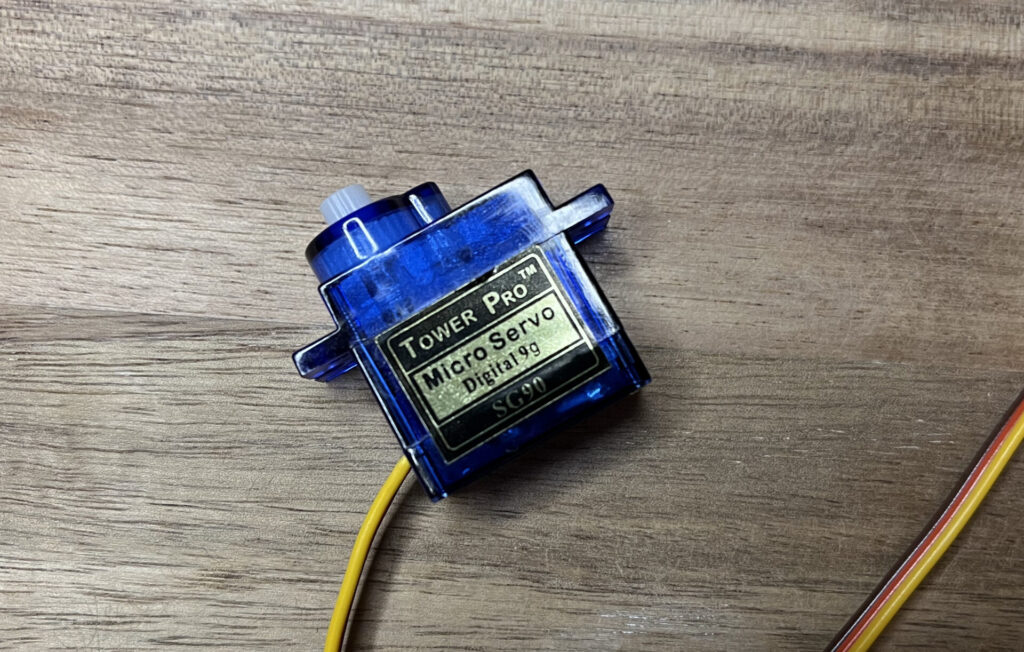
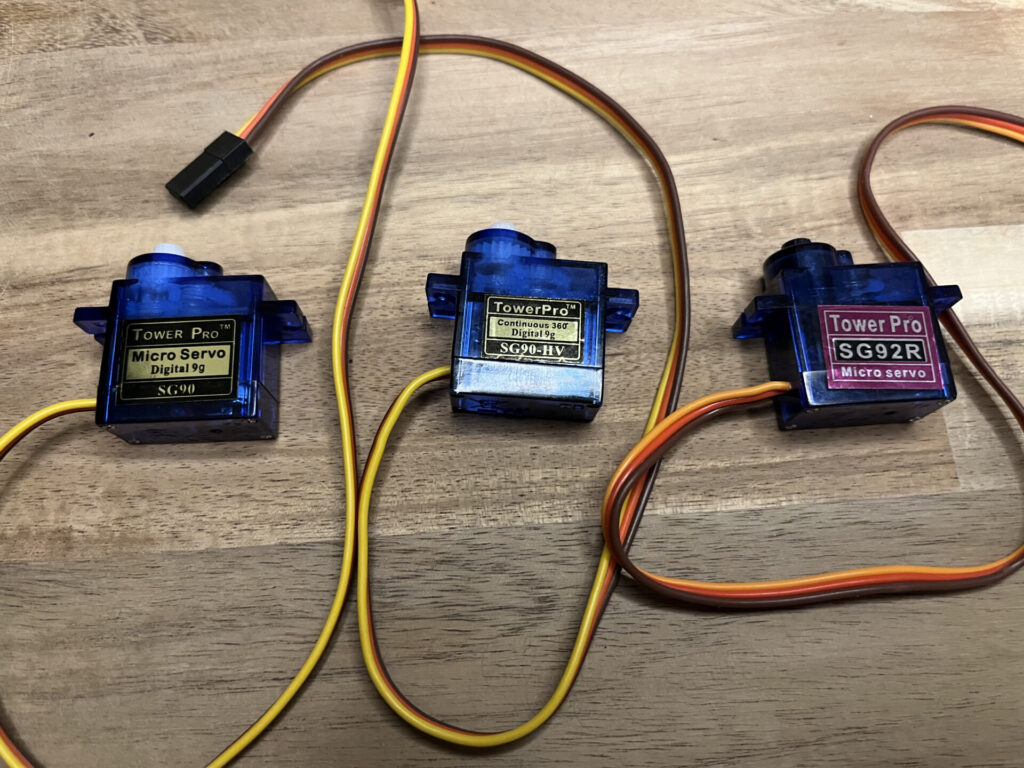
A servo motor often used in electronics and DIY applications is Tower Pro’s SG90 (Figure 1). It is a popular servo motor because it is inexpensive, small, has a reasonable amount of torque, and is easy to obtain. There are variants of this servomotor with the same dimensions that differ in torque and operating mode (angle control or infinite rotation) (Figure 2).
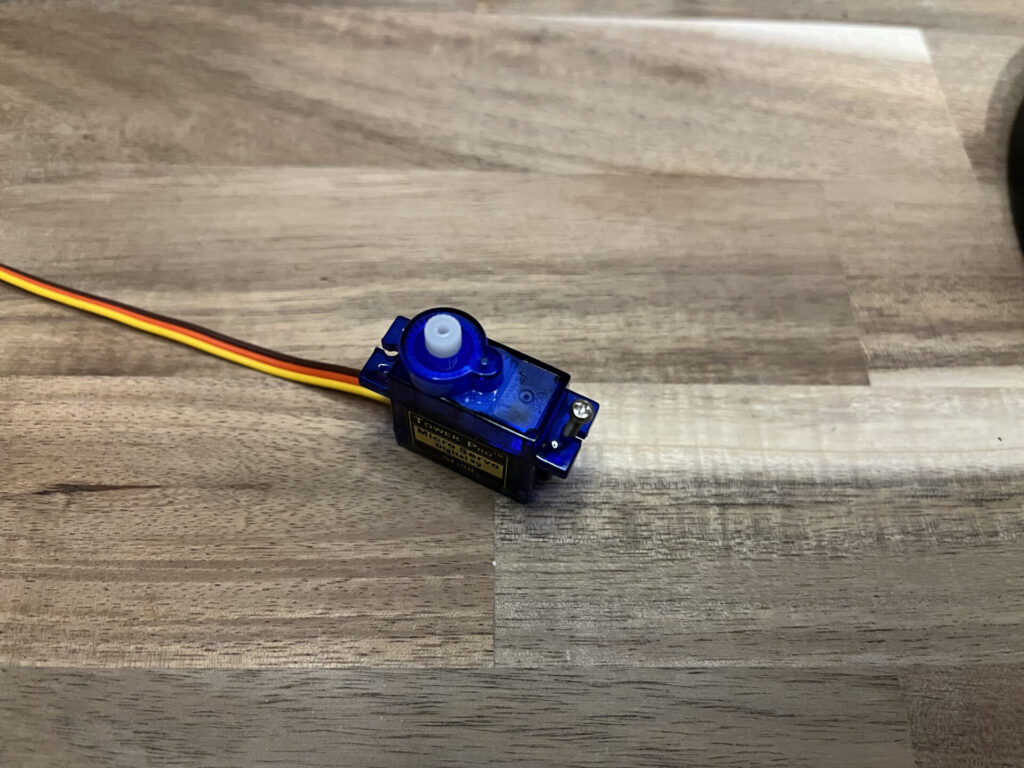
This servomotor is very handy, but its small size means that there are few places to mount it, and it can be surprisingly difficult to attach it to anything. There are two holes for M2 screws, but depending on the mounting location, it can be quite difficult (Figure 3). In addition, the screws may interfere with the cable directly below the mounting holes. If this happens, installation may become difficult or the cable may be damaged (Figure 4).
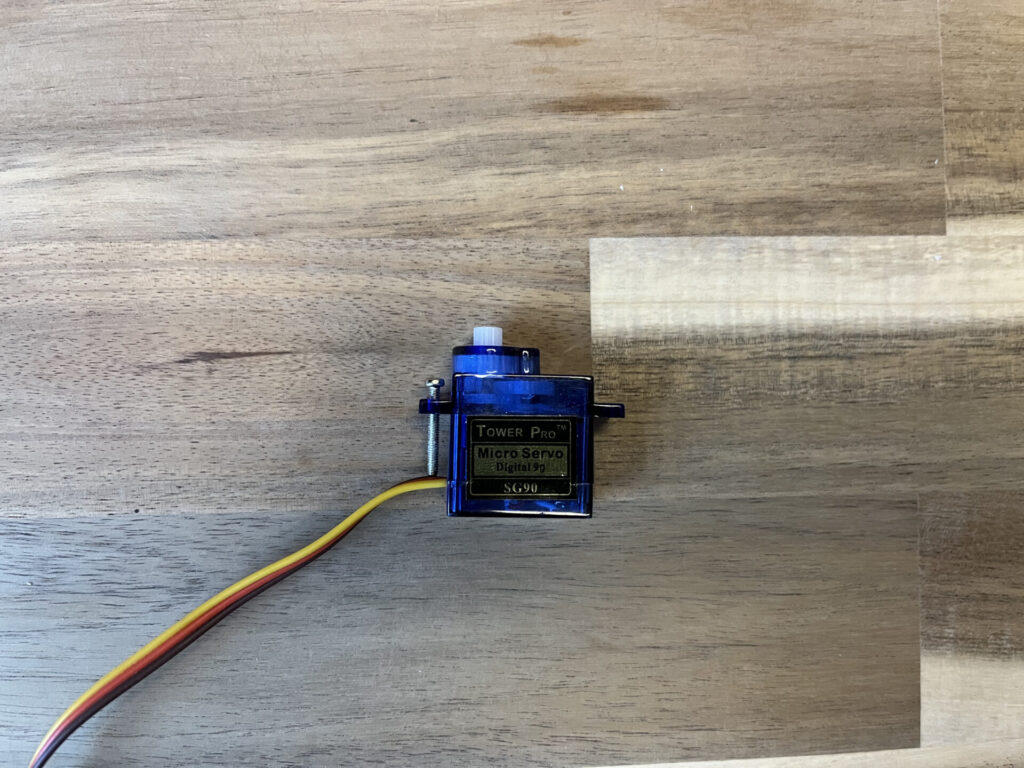
So I will make a bracket that can easily fix this SG90 (and SG92R, SG90-HV, etc. with the same dimensions).
3D printable fixing parts
In this article, I will make a part that can hold up the SG90 that can be 3D printed. Since there is only one hole on each side of the SG90 body, it may not be secure enough when it is attached. Therefore, I will make a part that covers the entire SG90 and has more attachment points.
In addition, the fixing screws should only be M2 15mm and M3 screws, which are easy to obtain.
The first step is to design the whole thing in Fusion360; the policy is to cover the entire SG90 and not use the mounting holes of the SG90 itself.
It consists of the main base and its cover. The cover is attached with M2, 15mm screws and nuts, and the base is attached with M3 screws (Figures 5 and 7).
M2 nuts are inserted from the rear to secure the cover (Figure 6).
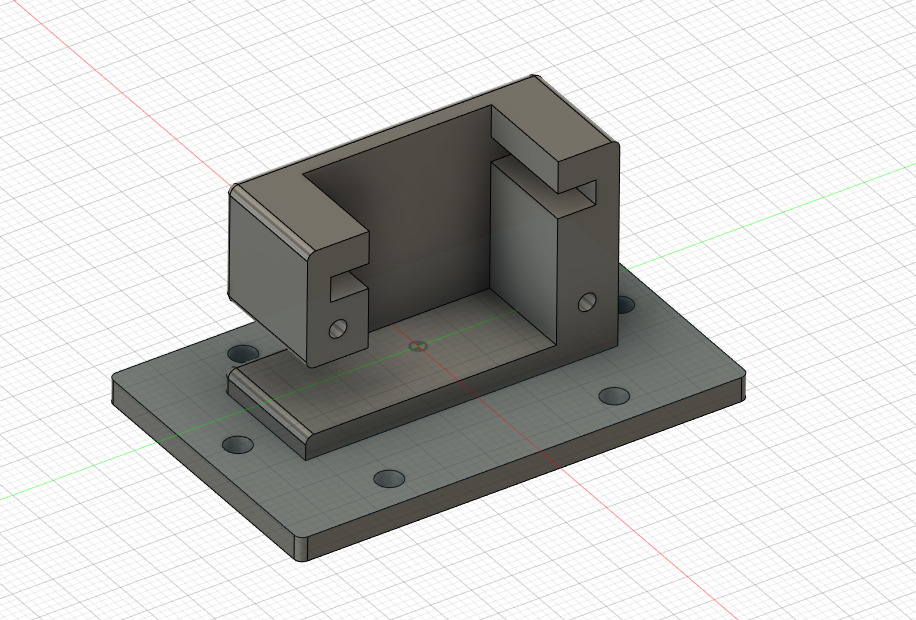
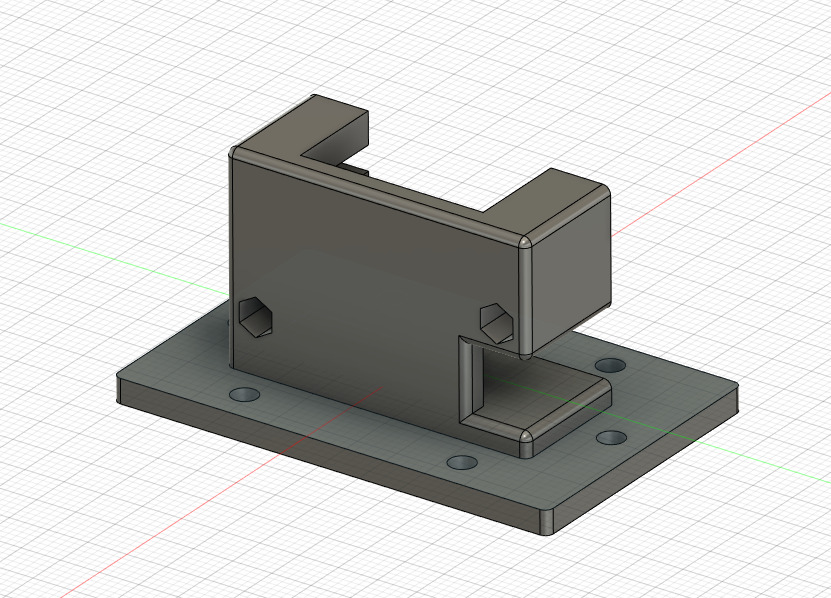
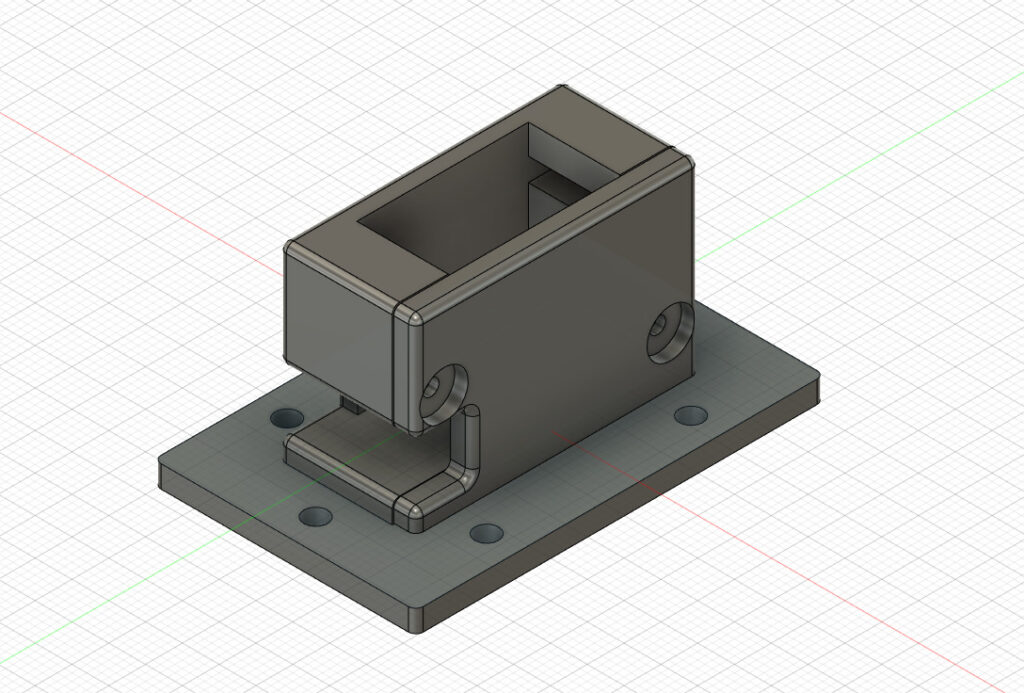
The cover is secured with M2 screws.
Print & Assemble
Now, let’s print it using a 3D printer. The recommended printing direction is shown in Figures 8 and 9. By printing in this orientation, the support material will not get into the small areas and it will be easy to peel off the support material. Figure 10 shows the actual printed part.
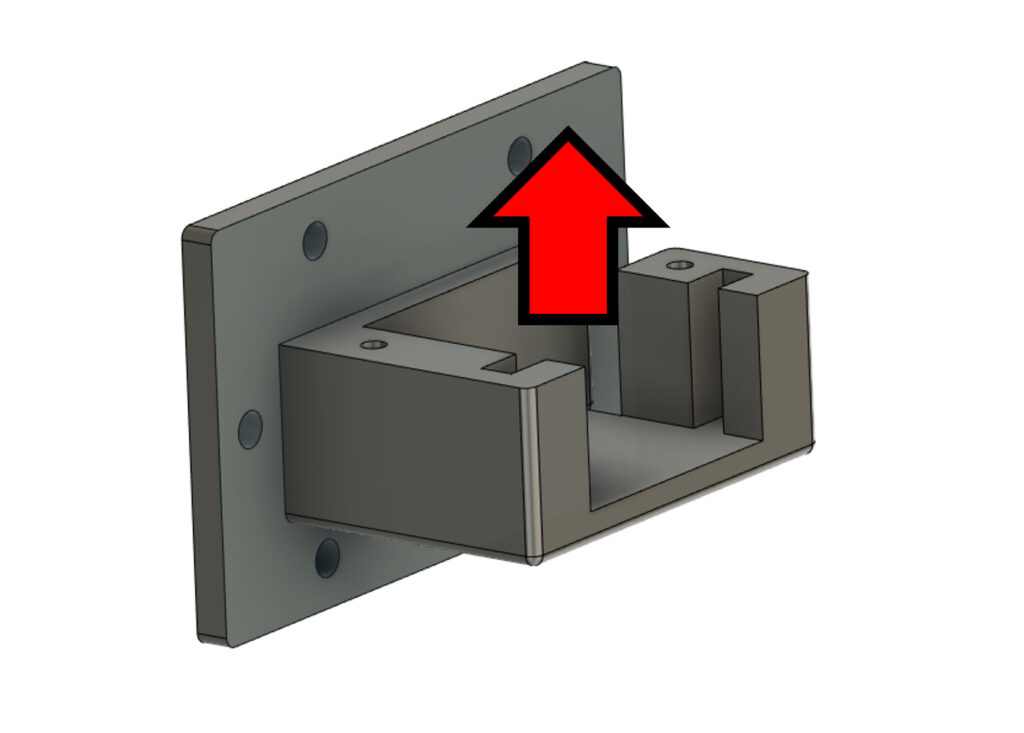
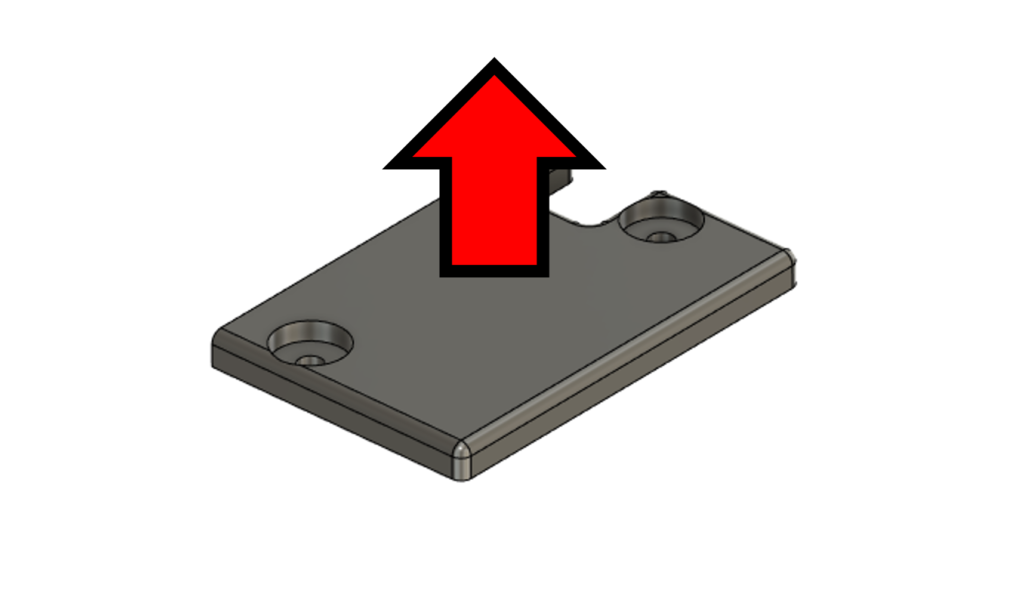
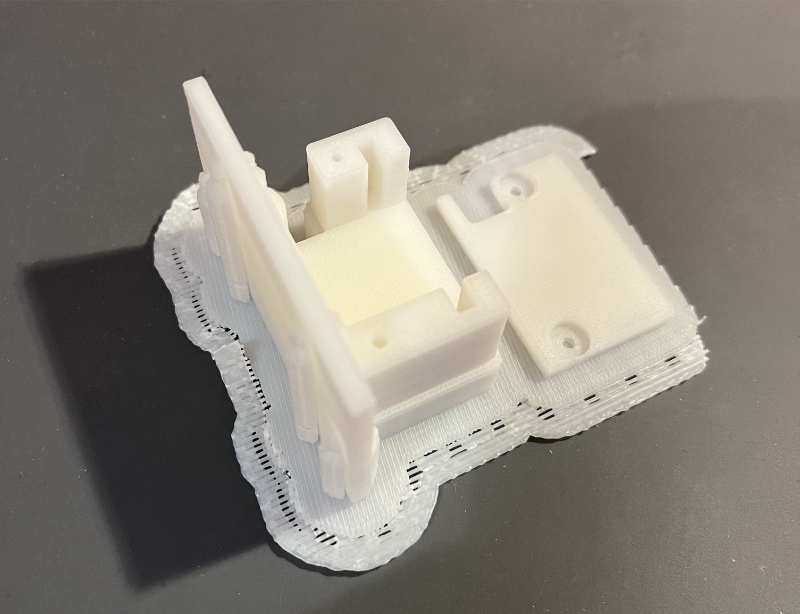
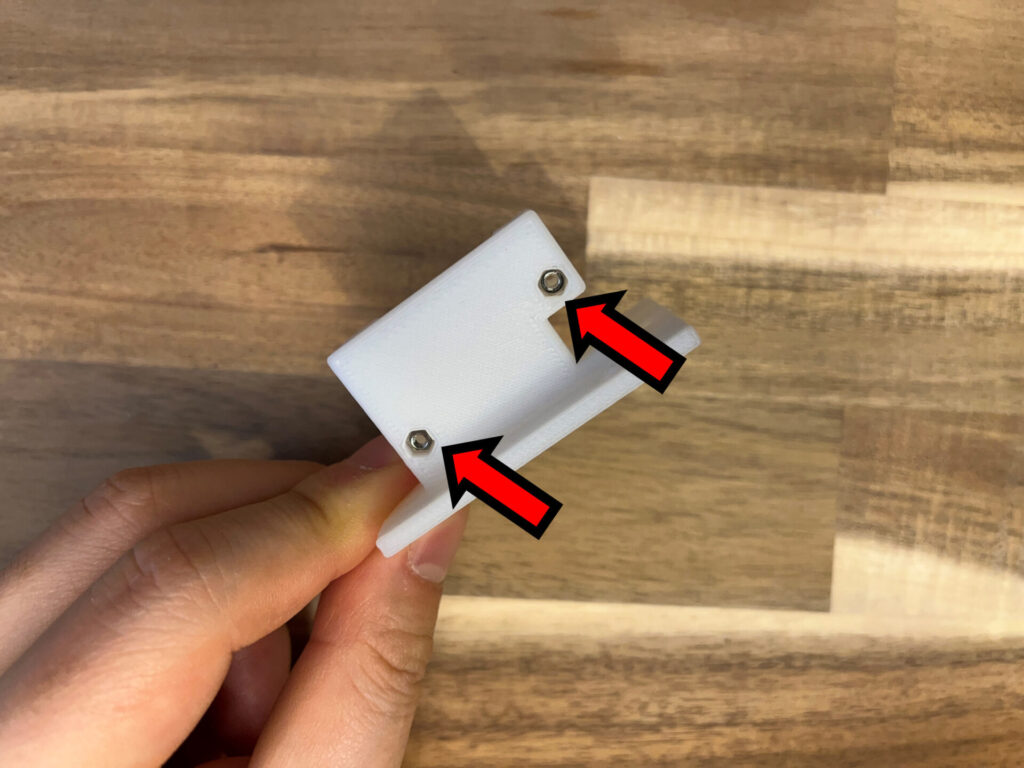
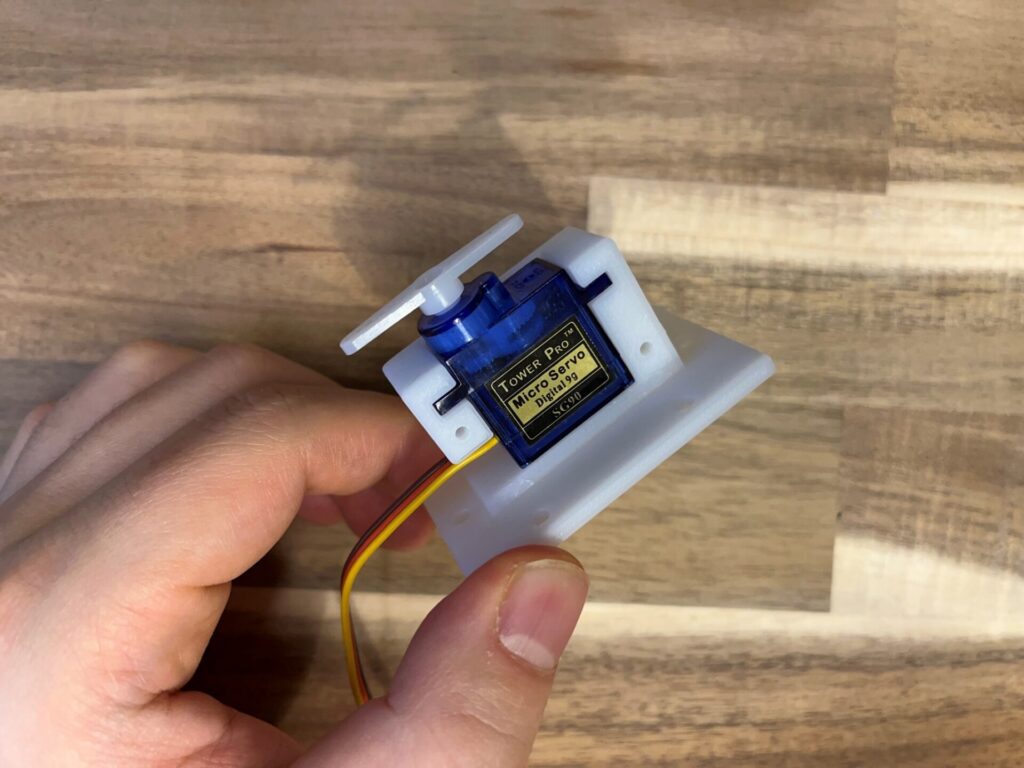
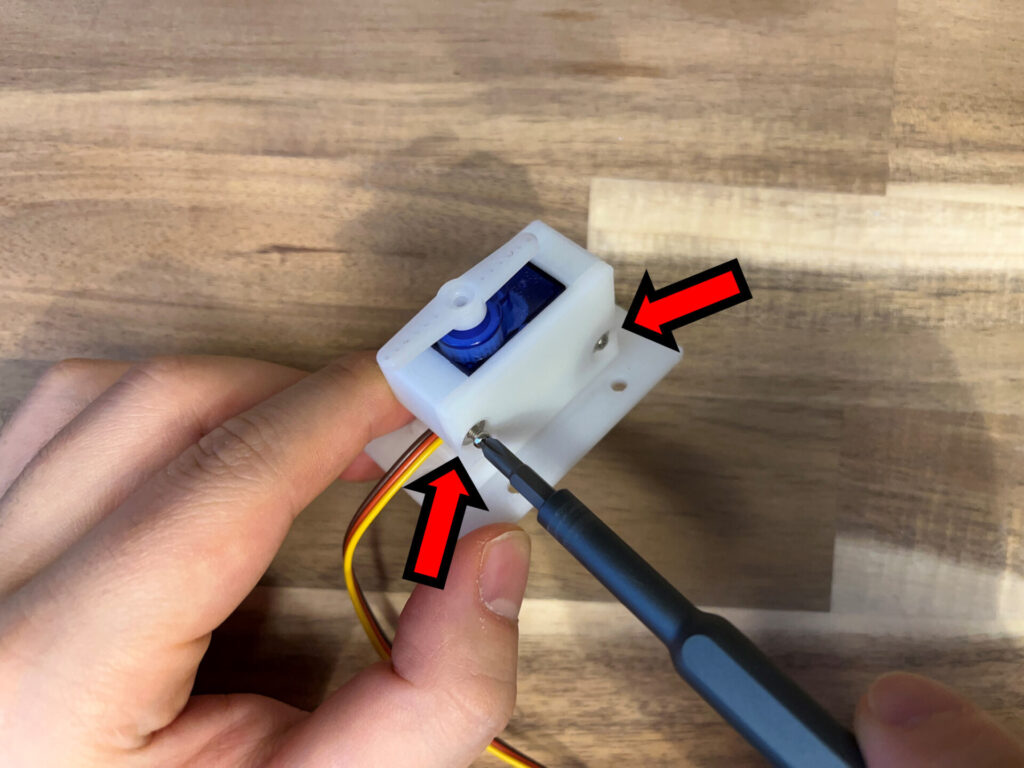
Insert M2 nuts from the rear of the base (Figure 11), insert the SG90, cover and secure with M2, 15 mm screws (Figures 12 and 13).
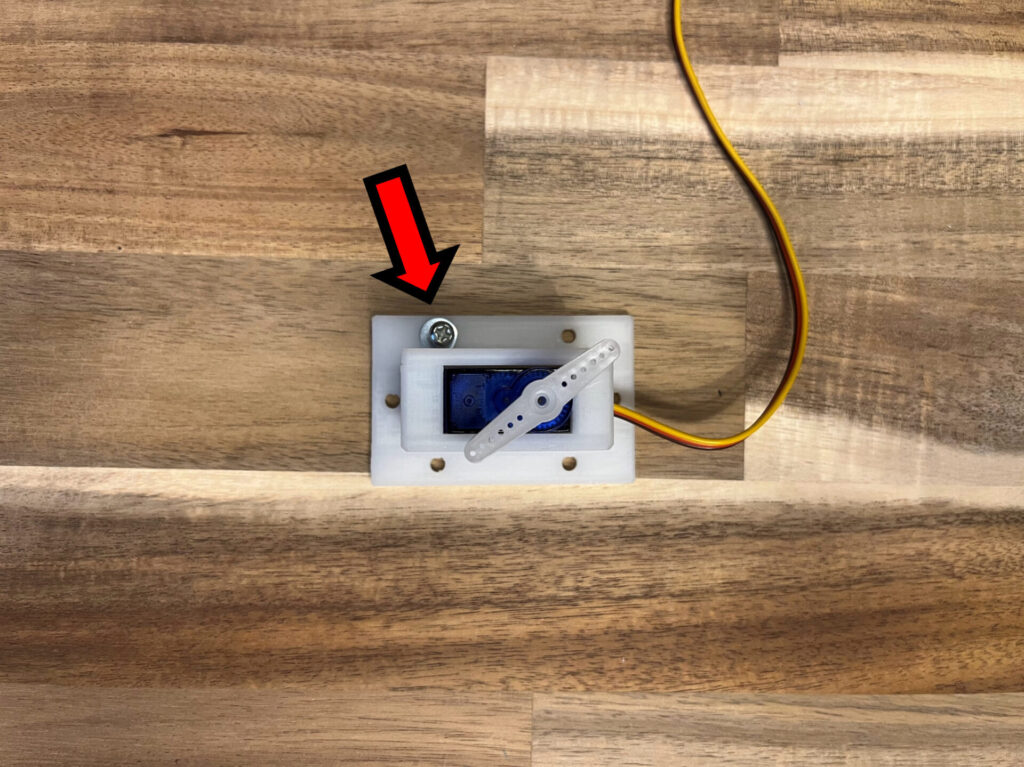
Then simply fix it with M3 screws according to the part you want to attach it to (Figure 14).
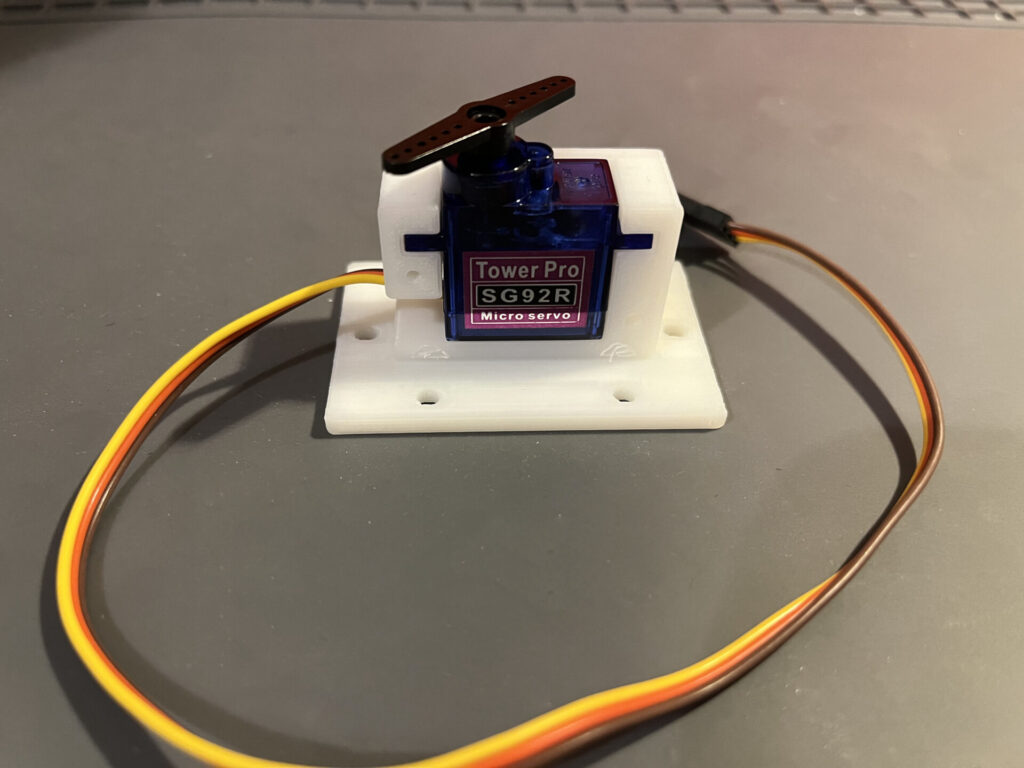
Of course, a servo motor with the same dimensions as the SG90 can also be used (Figure 15).
STL File Release
STL files of the mounting parts created this time are available below. Feel free to use them! (The contents are the same for all pages.)
SG90 Series Universal Holder
Thingiverse: https://www.thingiverse.com/thing:5844089
GrabCAD: https://grabcad.com/library/sg90-series-universal-holder-1
Cults: https://cults3d.com/:1056050
In addition to Tower Pro SG90, it is also available in SG92R and SG90-HV with the same dimensions.
Tower Pro SG90: https://ebay.us/Knfs93
Tower Pro SG92R: https://ebay.us/bB0z1z
Tower Pro SG90-HV: https://ebay.us/kMeKW9
