Make 3D Printable Mounting Parts for SG90 Series – Arm Version (STL file available!)
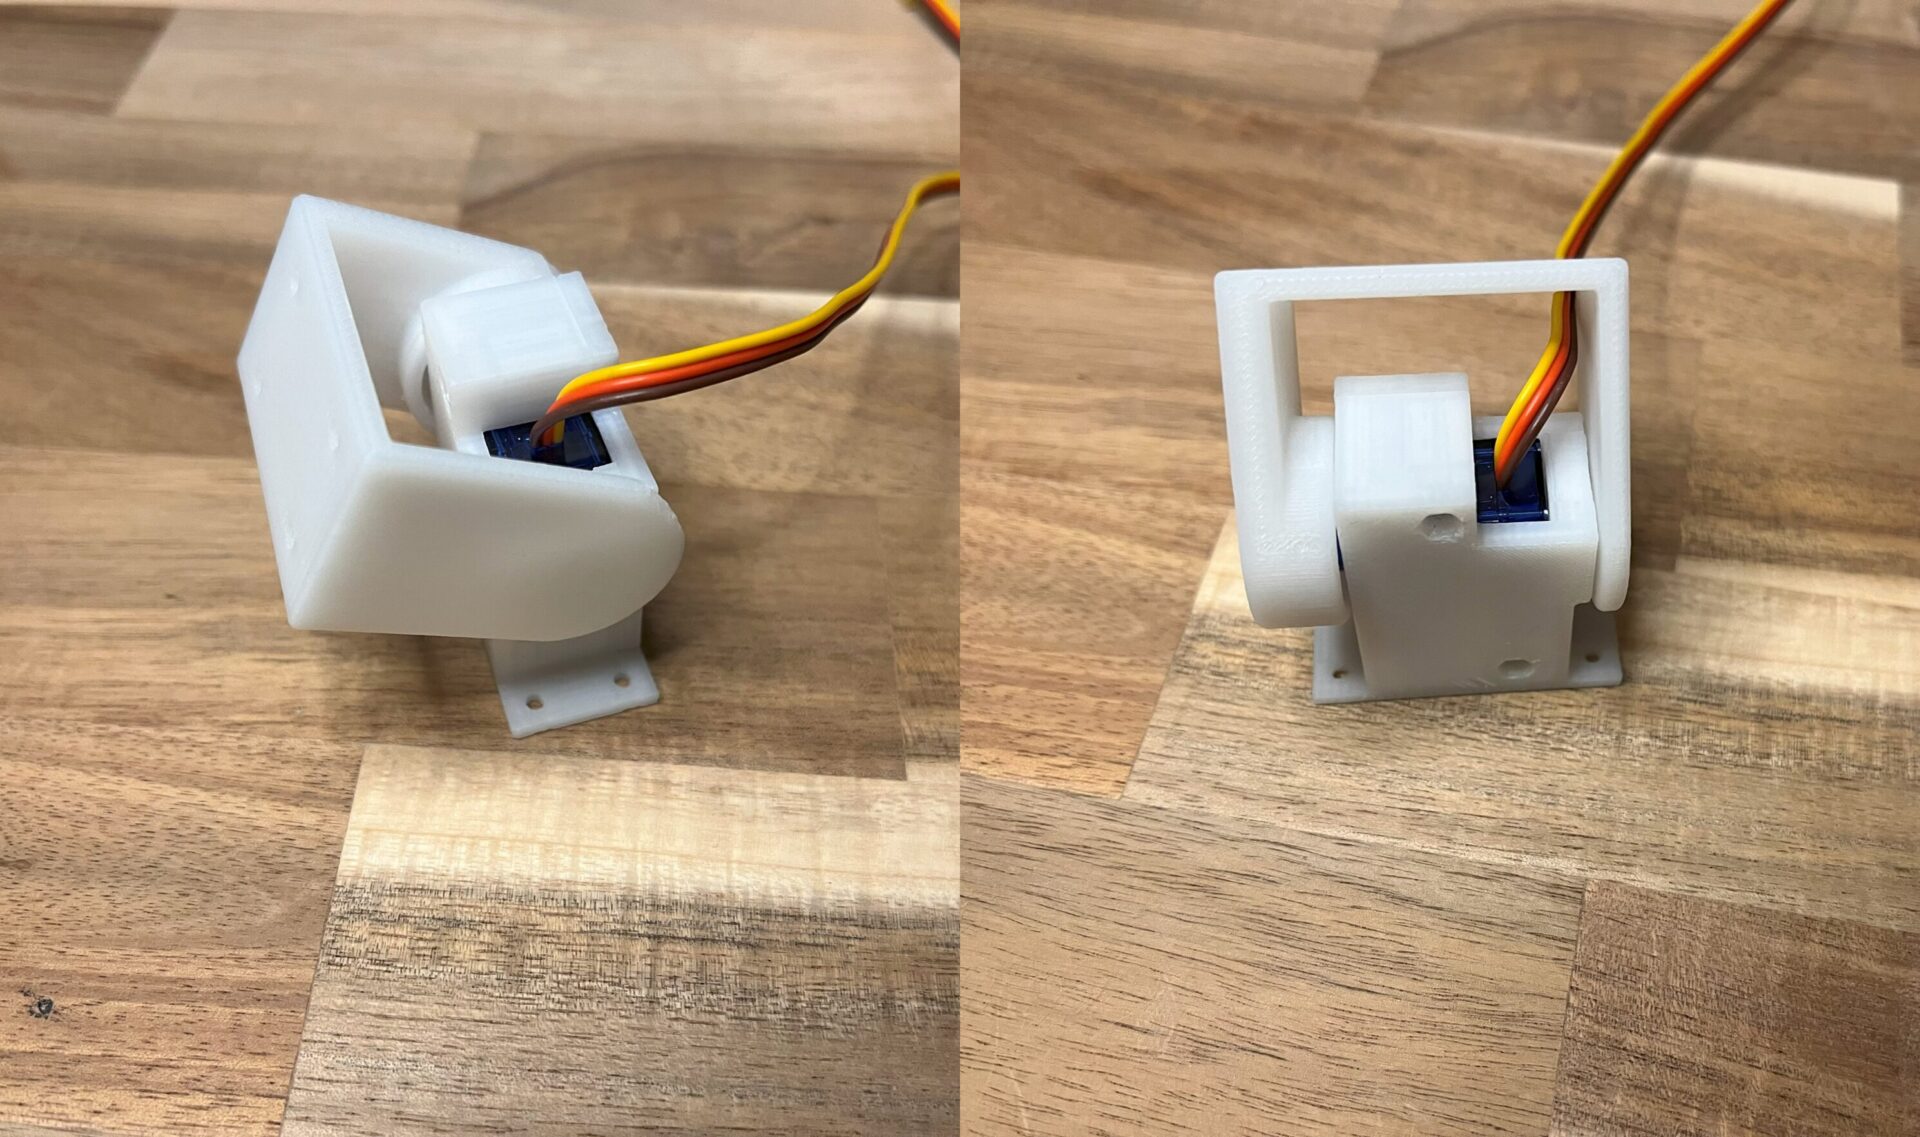
The data is distributed at “STL Files Available”!
Toon Robotics is supported by its audience. When you purchase through links on my site, I may earn an affiliate commision.
Previous mounting parts for SG90 series
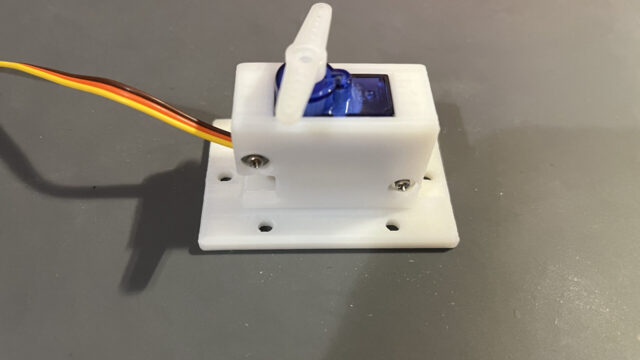
Previously, I created a part that can mount a servo motor of TowerPro SG90 series. I have made it available as STL files that can be easily 3D printed if you like!
Mounting parts for SG90 series Arm Ver.
In the previous article, I created a part that can fix the SG90 series servo motor horizontally. (Figure 1 and 2)
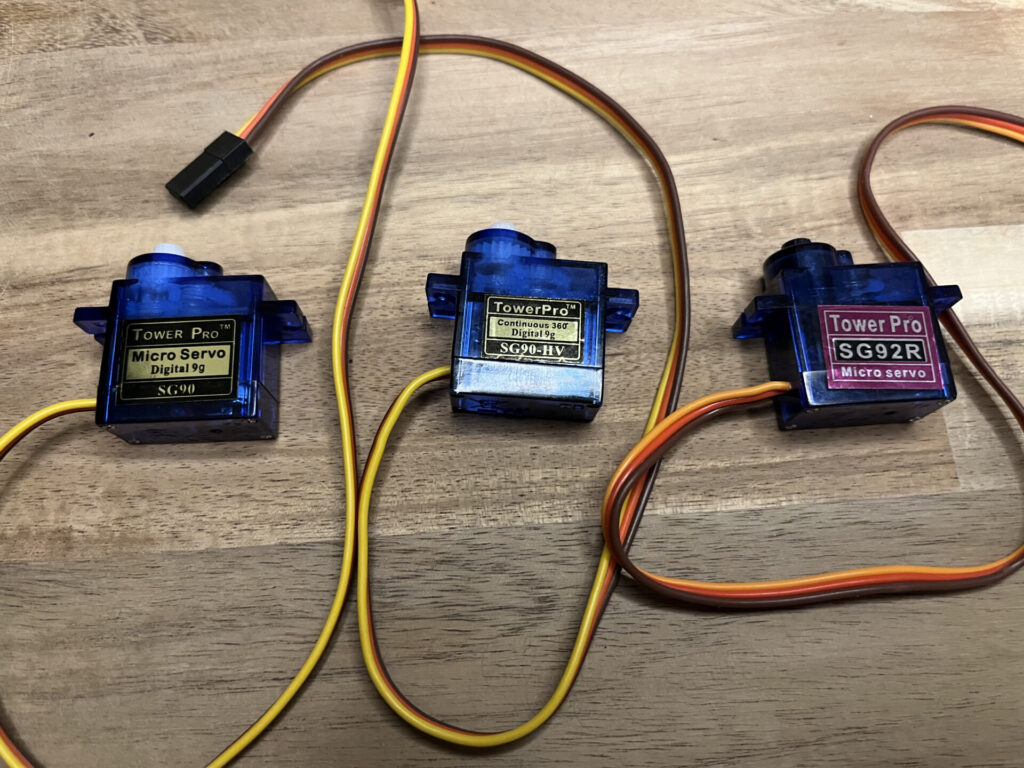
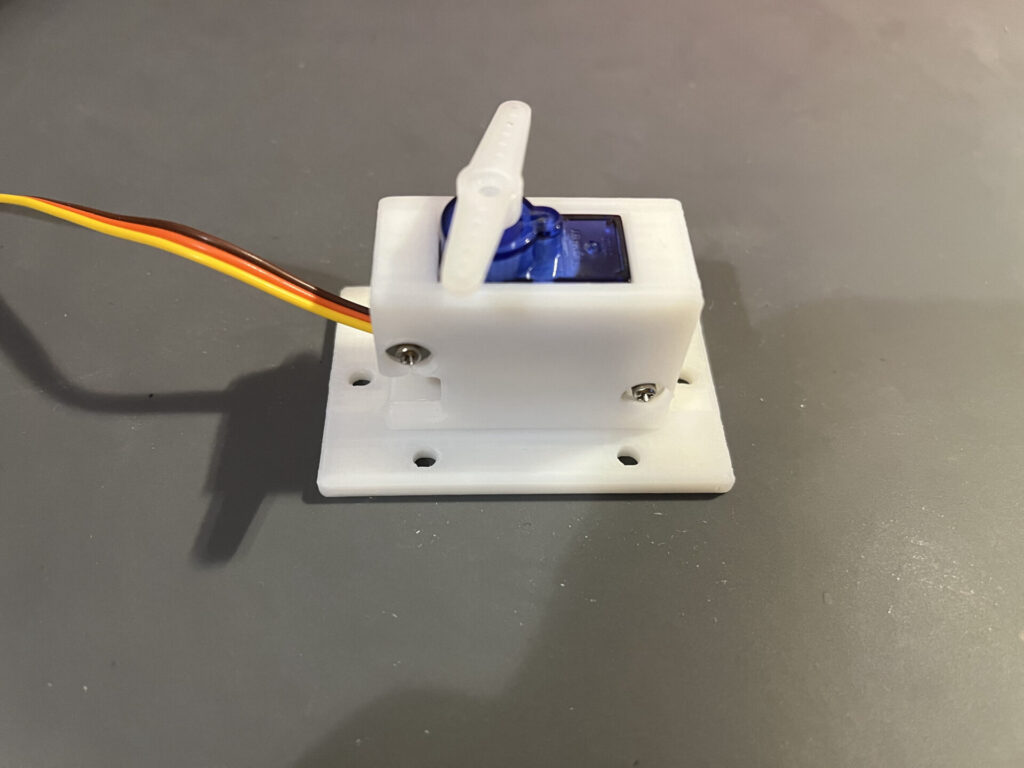
Since there is only one hole on each side of the SG90 body, it may not be secure enough when firmly fixed. Therefore, I decided to cover the SG90 as a whole, while increasing the number of fixing points.
This time I further added an arm-like part to create a part that can be fixed in another direction.
Here are the mounting parts for the arm ver! (Figure 3 and 4)
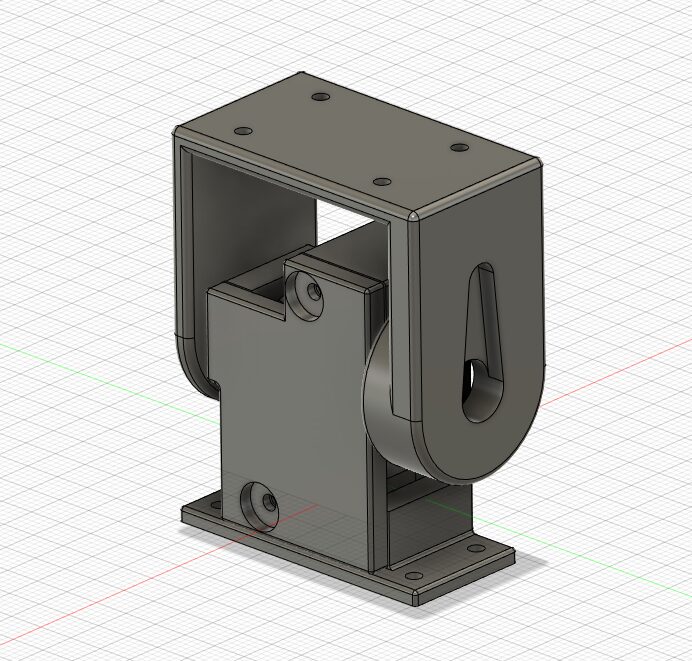
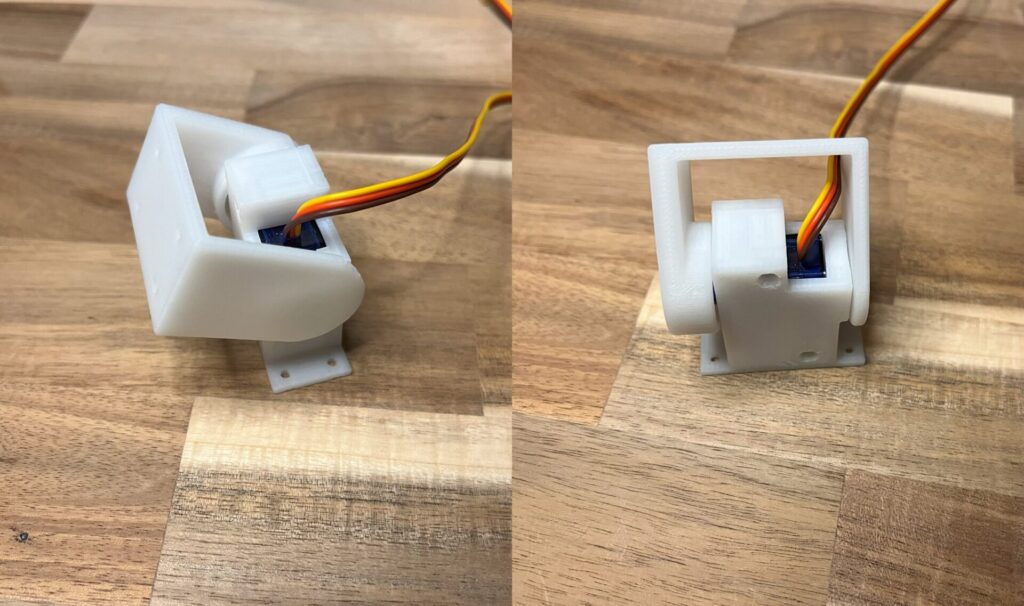
This time it is made up of three parts: the main base part, the cover, and the arm. Here is how it looks in operation. The arm part has mounting holes for M2 screws, and the base part has holes for M2 screws for fixing.
Printing with a 3D printer
Let’s take a look at printing with a 3D printer.
First is the base part. (Figure 5)
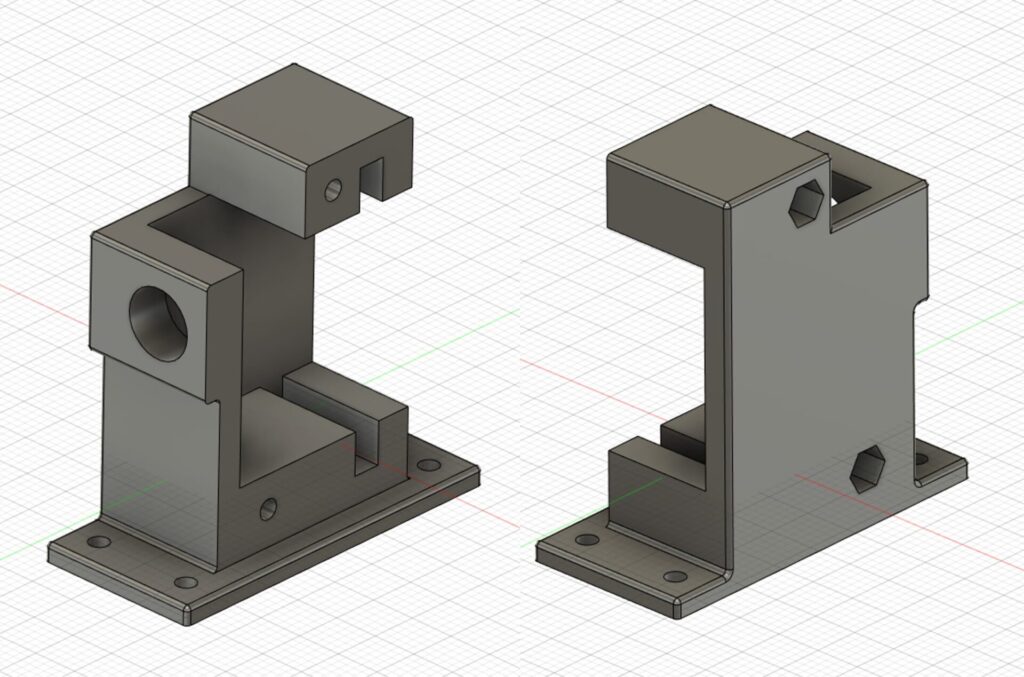
From the viewpoint of strength and support material removal, I recommend printing in the direction shown in Figure 6.
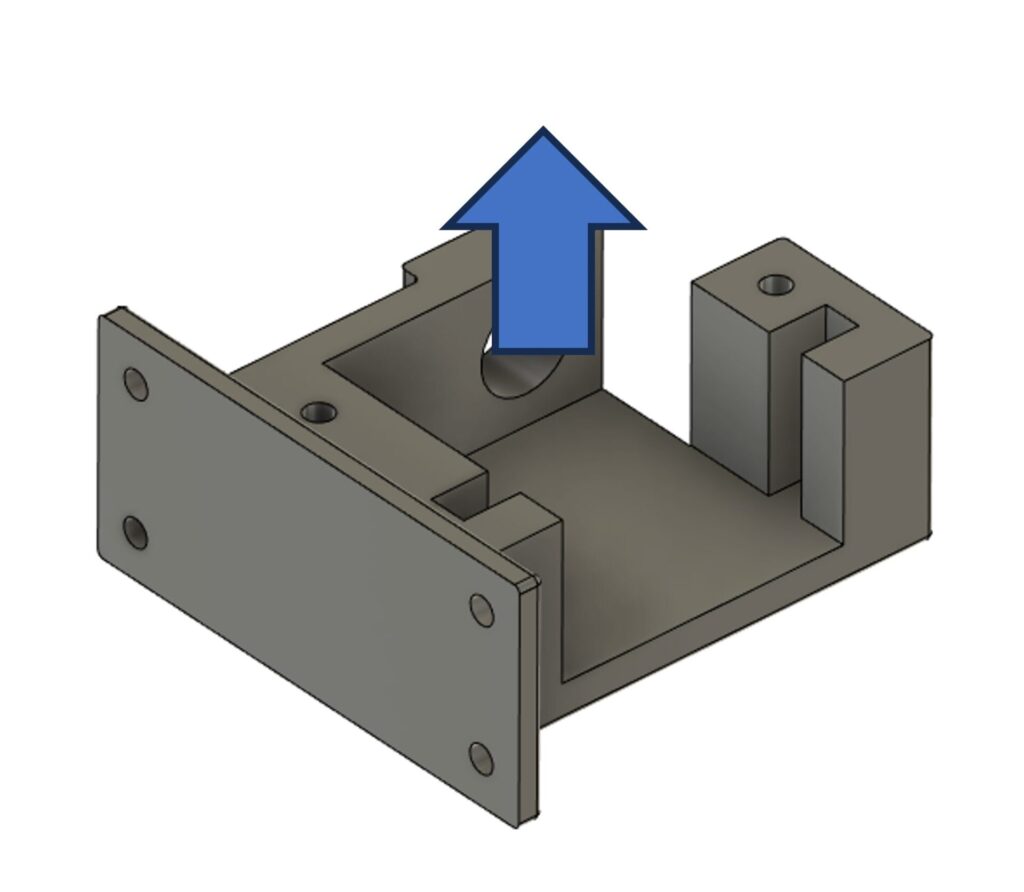
Next is the cover part. It is OK to print in the direction that increases the contact area. (Figure 7)
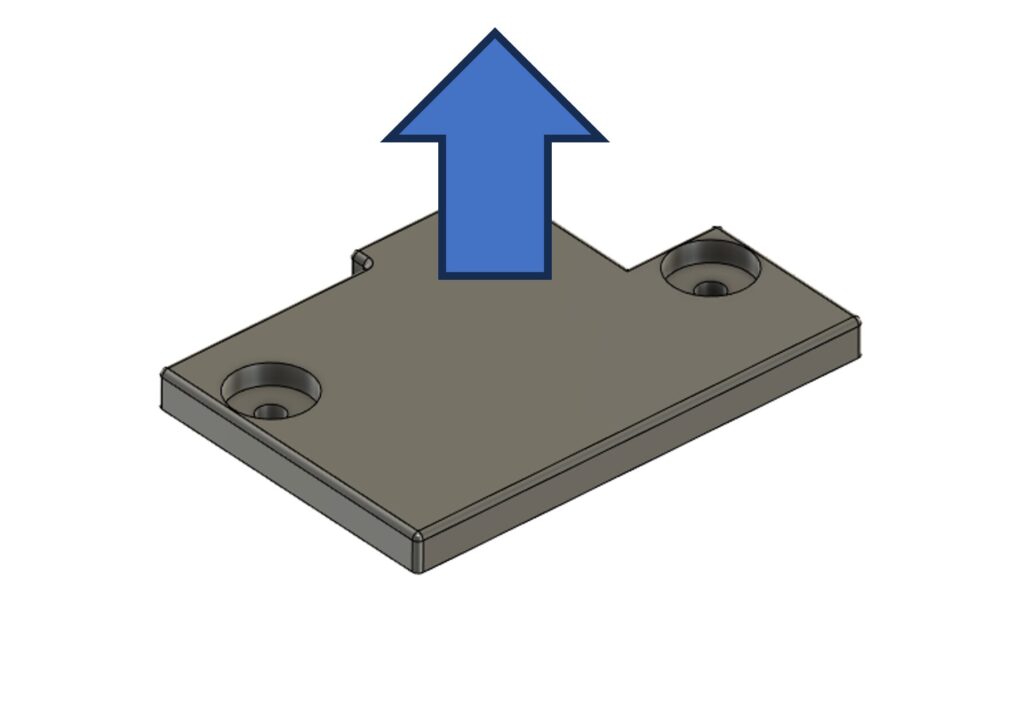
Finally, the arm part. For the arm part, as well as the others, I recommend printing in the direction shown in Figure 8 from the standpoint of strength and support material removal.
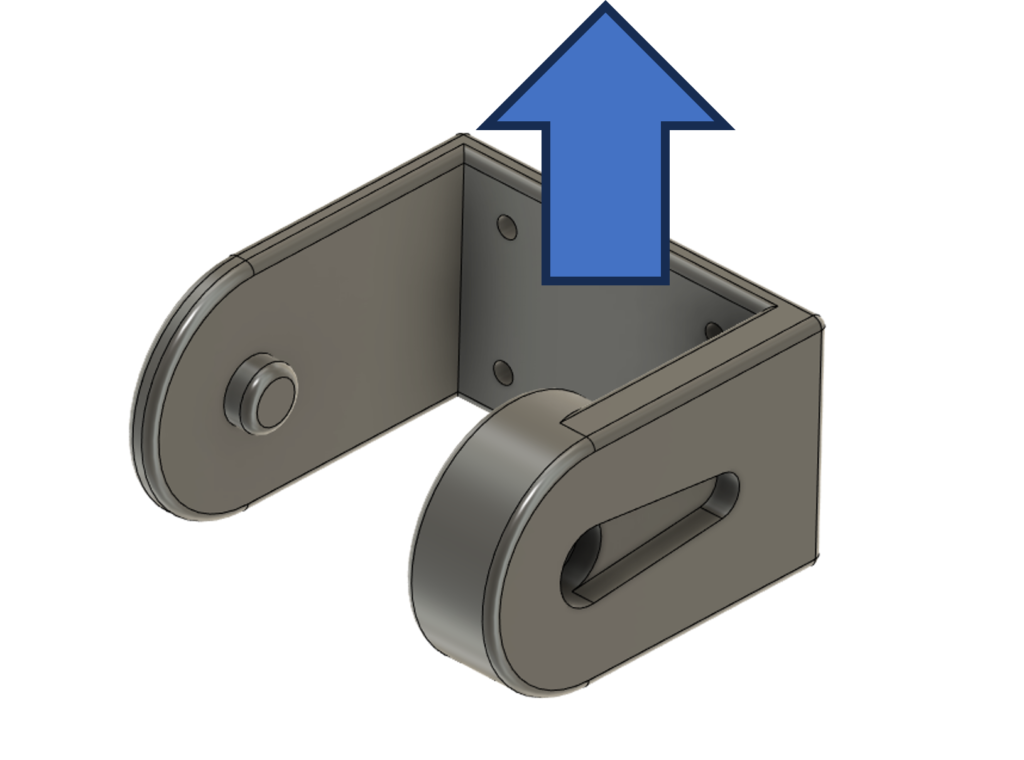
The actual printout is shown in Figure 9. I printed this using Zortrax M200 Plus.
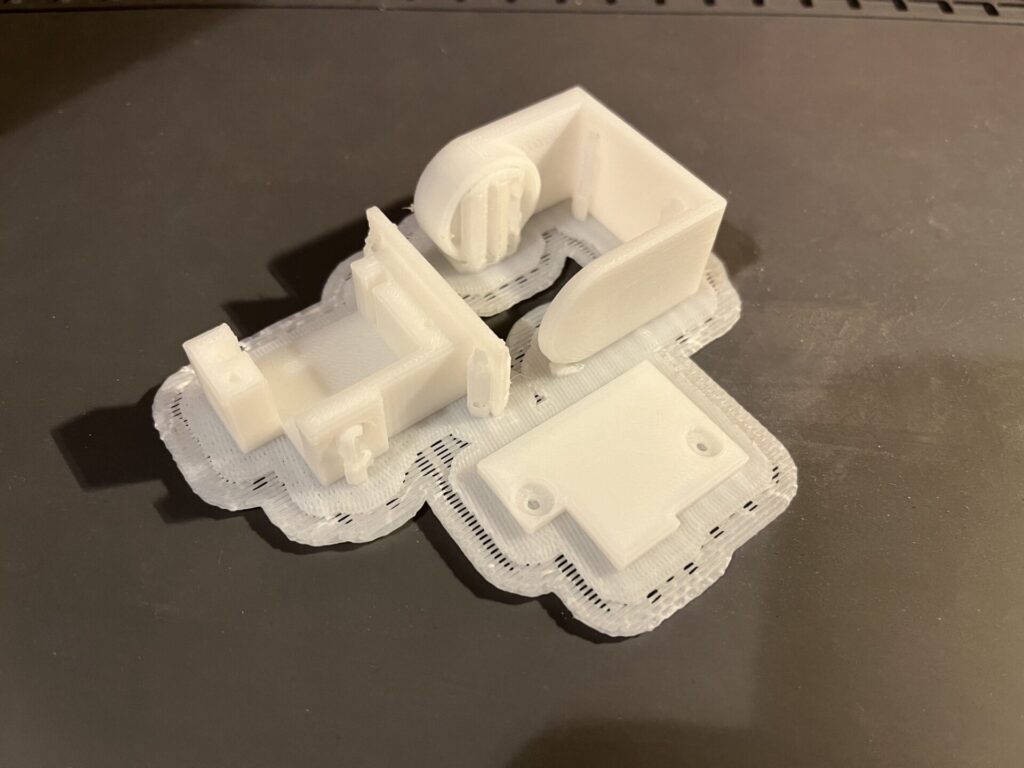
Zortrax M200 Plus: eBay
Assembly
Next, let’s look at the assembly.
First, fit the SG90 or a servo of the same dimensions into the base. (Figure 10)
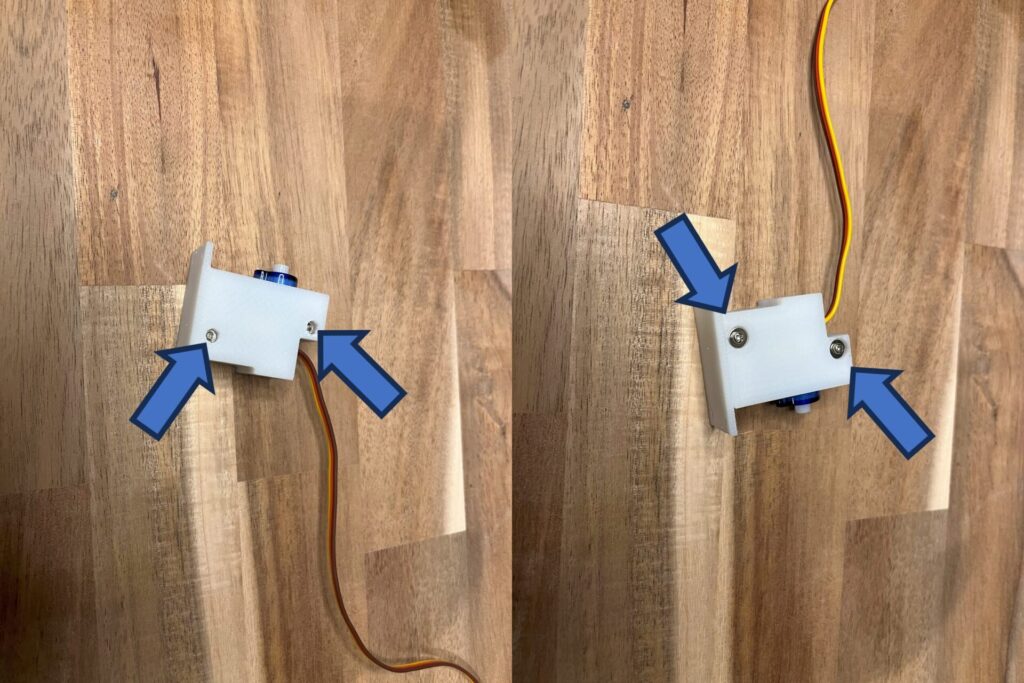
Insert an M2 nut from the back side of the base (Figure 11 left), cover and secure with an M2, 15 mm screw. (Figure 11 right)
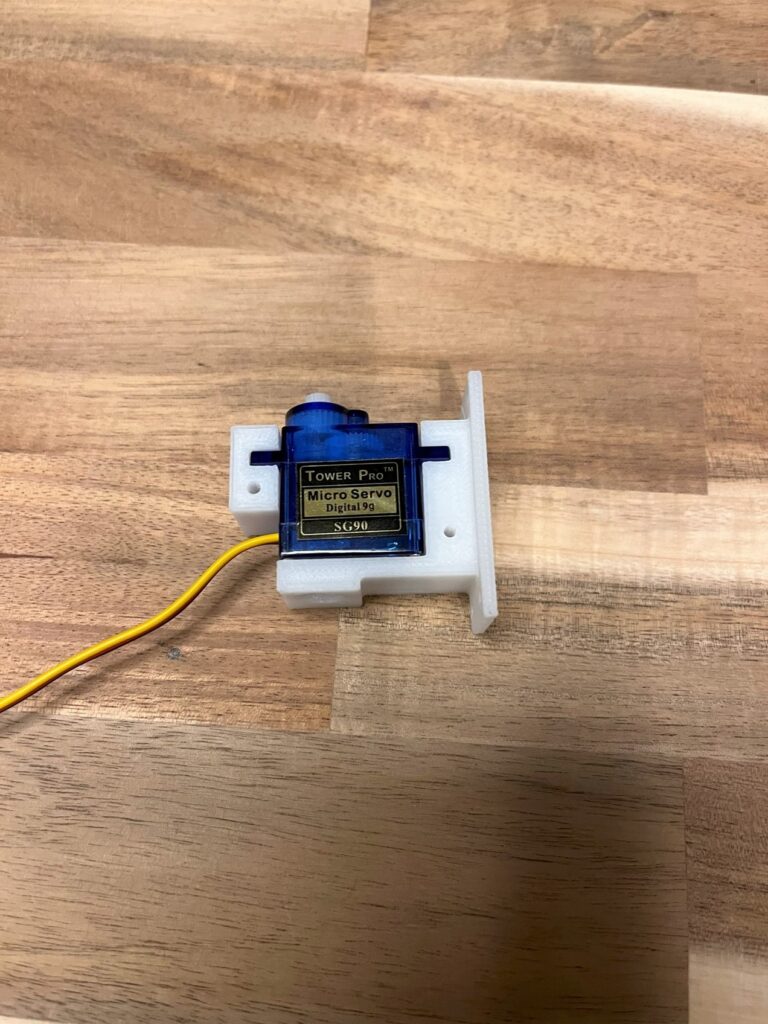
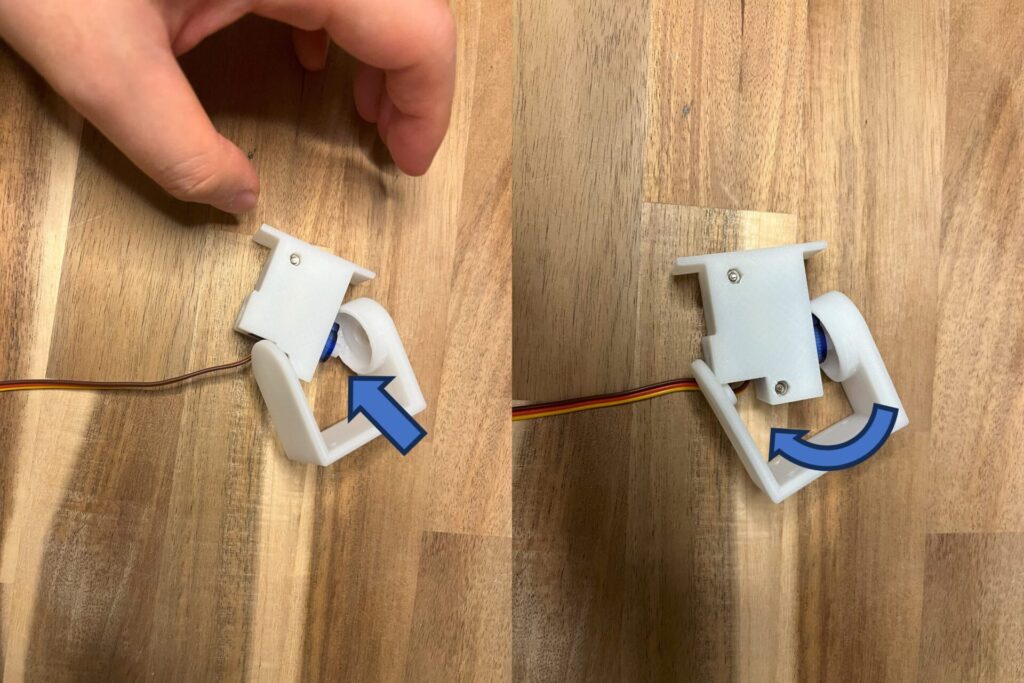
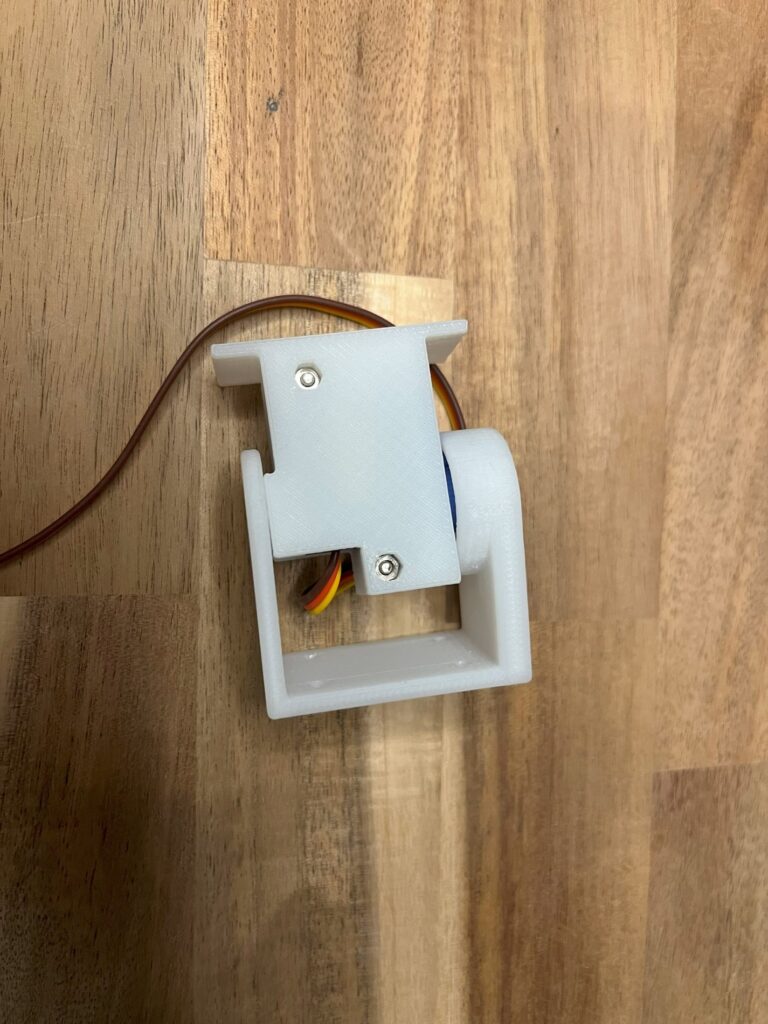
Next, attach the arm. First, place the servo arm with the hole in it over the moving part of the servo motor. Then, insert the convex part of the other side of the arm into the hole in the base. The arm should be inserted while spreading it out a little. (Figures 12 and 13)
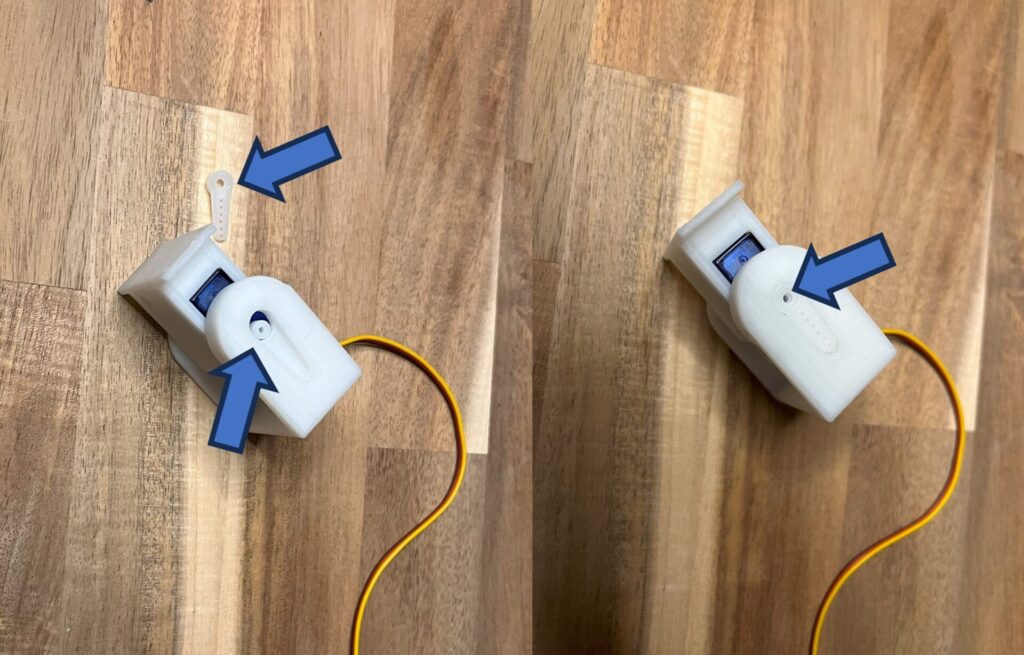
Finally, attach the servo horns that come with the servo motor. (Figures 14 and 15)
The installation of the servo motor is now complete!
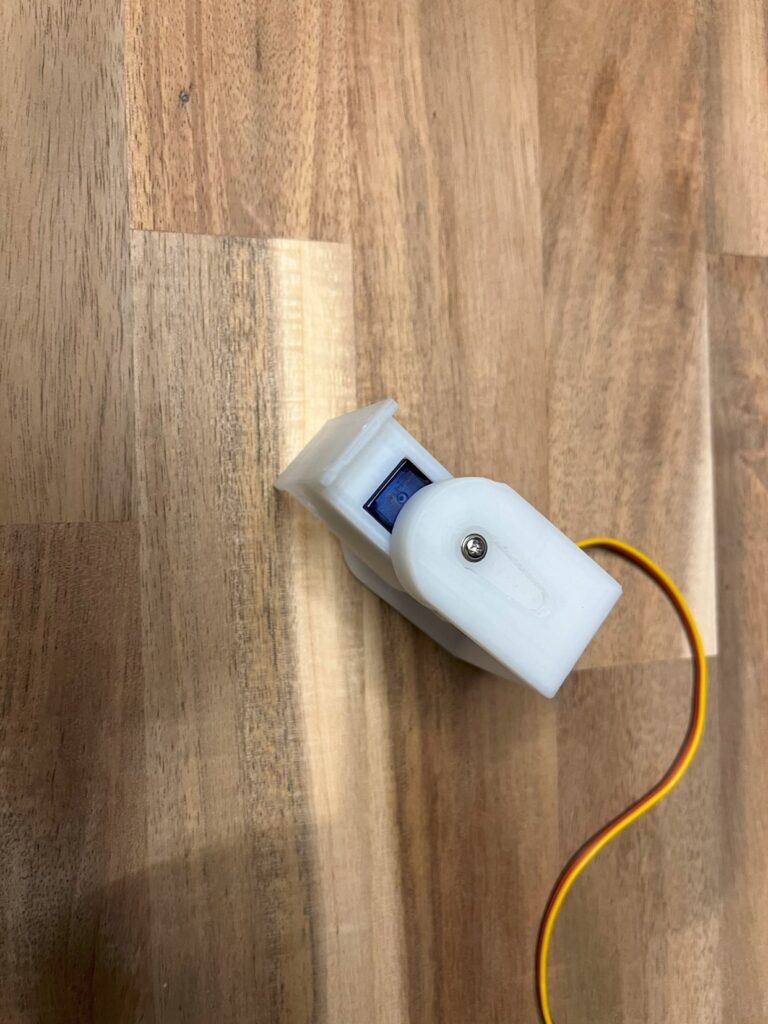
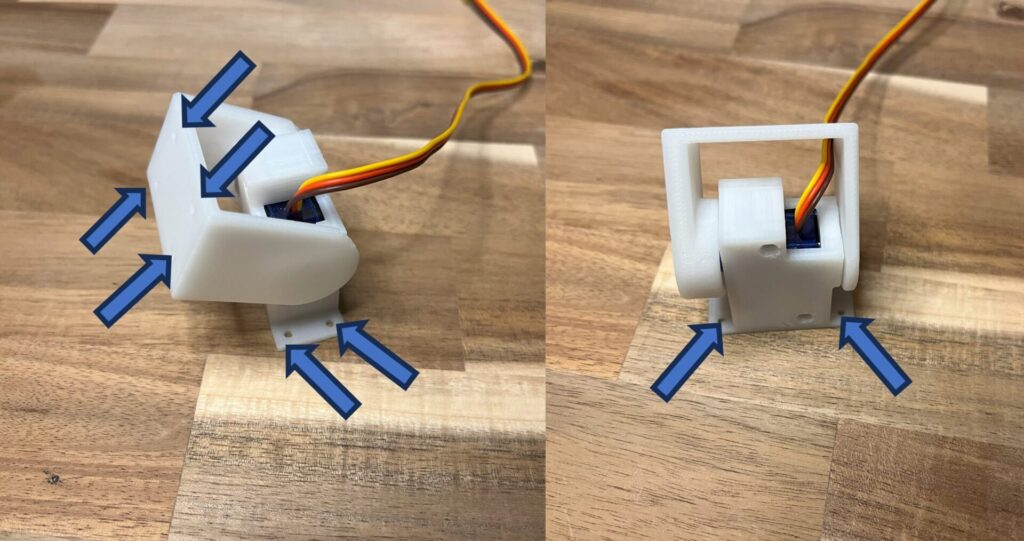
There are four fixing holes on the arm and the base, which can be fixed with M2 screws. (Figure 16)
STL Files Available
STL files of the mounting parts created in this article are available below. Please feel free to use them!
SG90 Series Universal Holder Arm Type
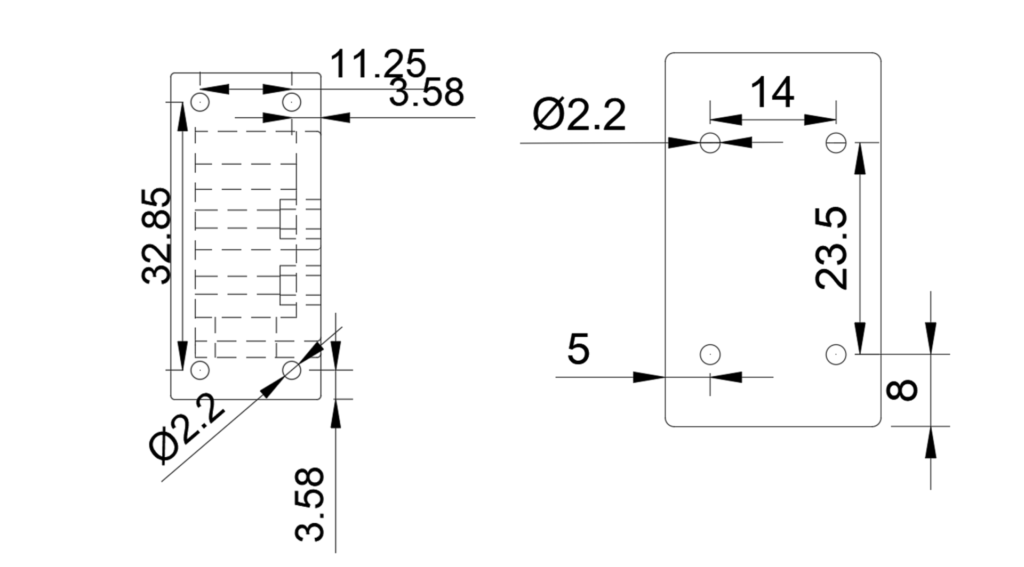
The positions and dimensions of the fixing holes are shown in Figure 17.
Compatible servo motors are listed below. Other servo motors can be used as long as they have the same dimensions as these.
SG90: eBay AliExpress
SG92R: eBay AliExpress
