Solving the Servo Jitter Problem and Power Supply: Building a Simple Bipedal Robot Part 6
Toon Robotics is supported by its audience. When you purchase through links on my site, I may earn an affiliate commision.
Previous Development
In the previous article, I implemented the robot software as a state machine. However, I suffered from jittering, which caused the servos to quiver in small increments.

Reduces Rattling
There are many possible causes of jittering. The servo motor may not have enough torque, or the fixture may vibrate. I therefore take several countermeasures.
First, replace the servo motor with a high-torque one. Fortunately, the SG90 servo motor currently in use has a high-torque version of the same dimensions, SG92R. (Figure 1)
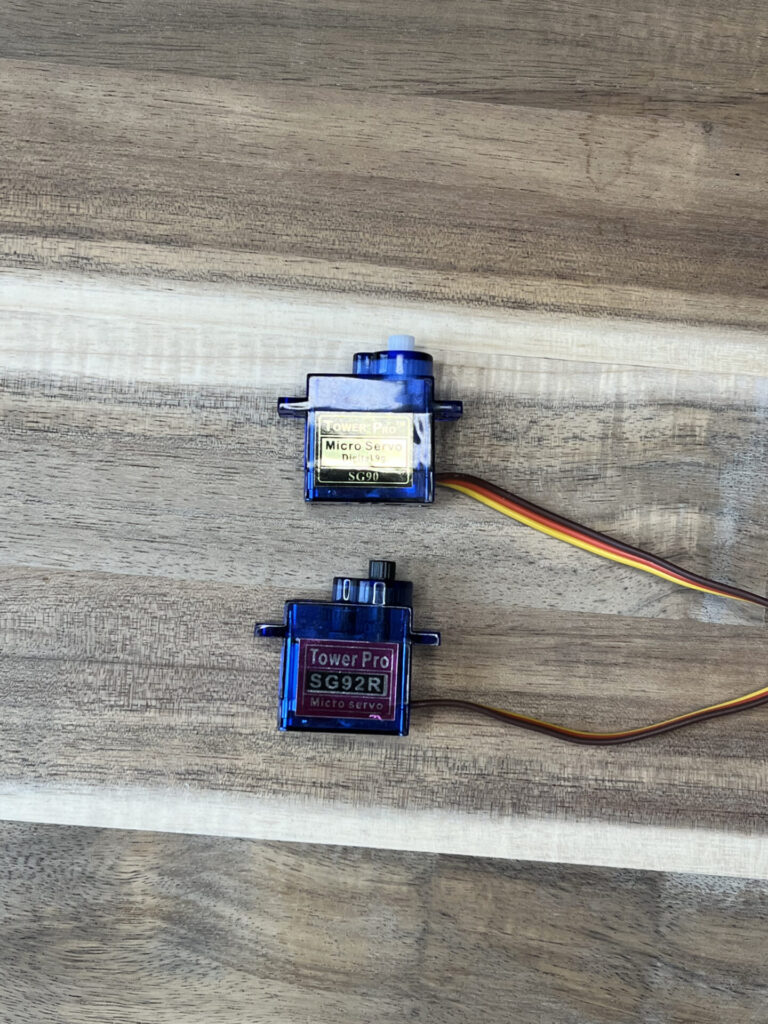
So far I have used both SG90 and SG92R for this robot. I had the two ankle servos that would be under more load SG92R, and I will change the other three from SG90 to SG92R as well.
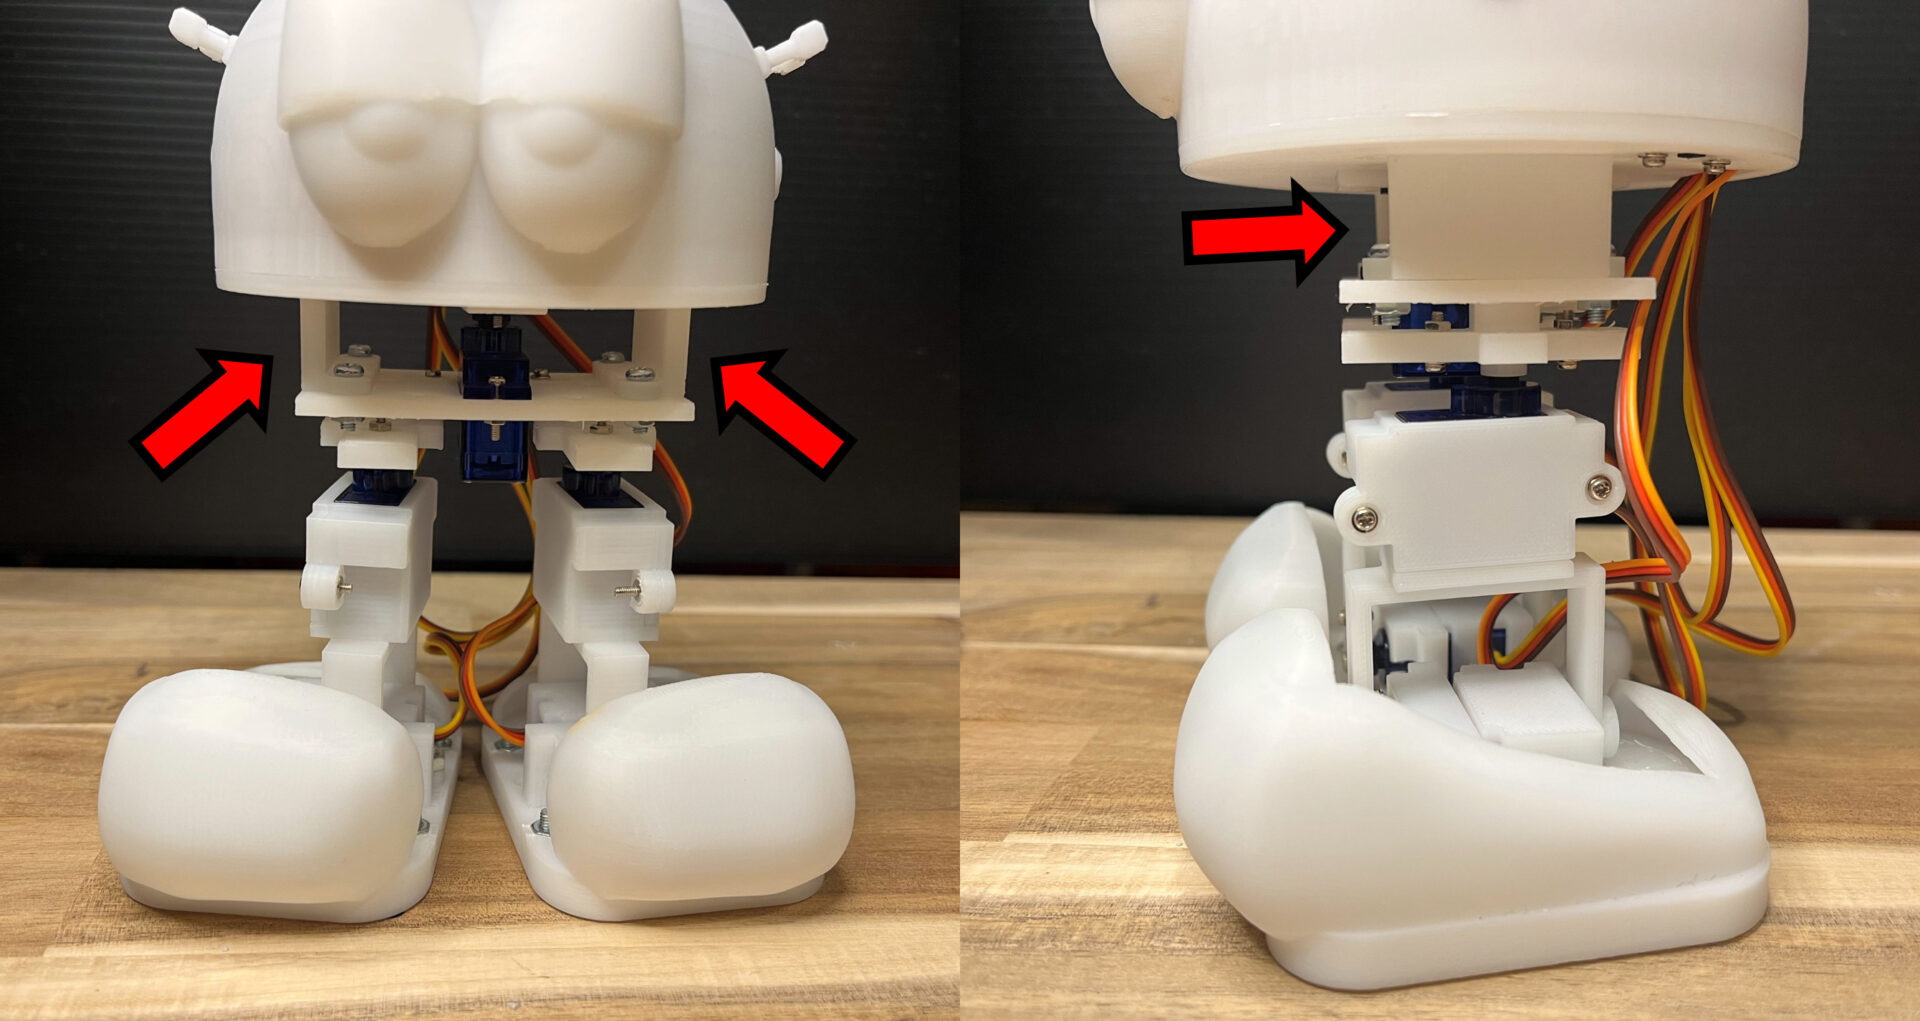
Next, I attach the parts that control the swaying of the entire head. I made the parts shown in Figure 2.
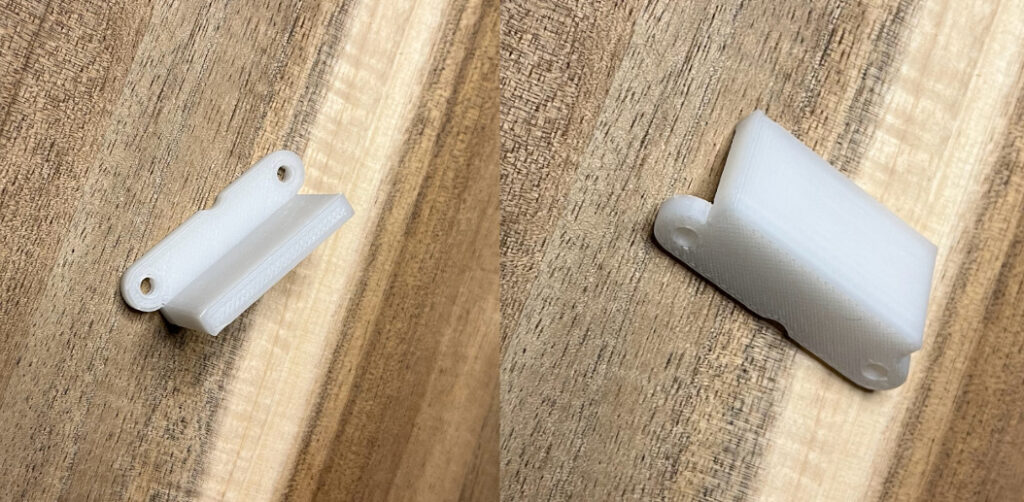
When this part is attached to the robot…

It looks like this. (Figure 3)
This will reduce the phenomenon of the entire head vibrating more than before. The contact is not too tight, but just enough that there is almost no load due to friction.
Now if I actually let it walk…
I have less jitter like this! But overall it tends to vibrate, so that needs to be improved.
Think about power supply
Now the next thing to consider is the power supply. In the previous article, the device worked with a single 3.7V battery. However, it is not so clear, so I need to make sure that it can supply exactly 5V.
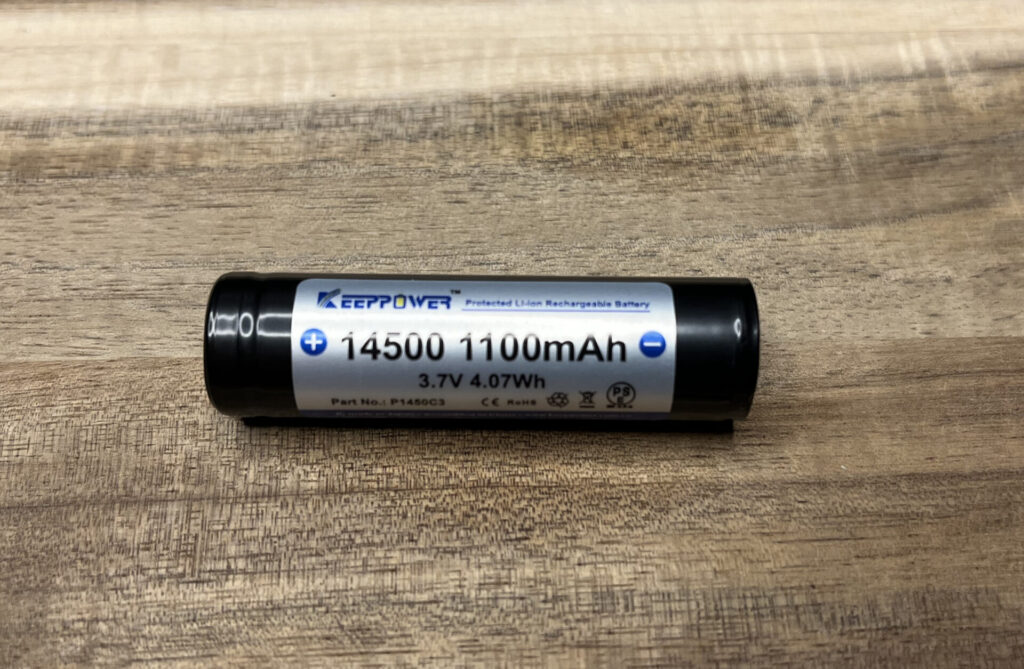
I am currently using a 14500 lithium-ion battery (Figure 4). Two of these batteries in series should provide 7.4V at 3.7V x 2.
The following products are similar (eBay)
https://ebay.us/O16wcb https://ebay.us/tgBq4R
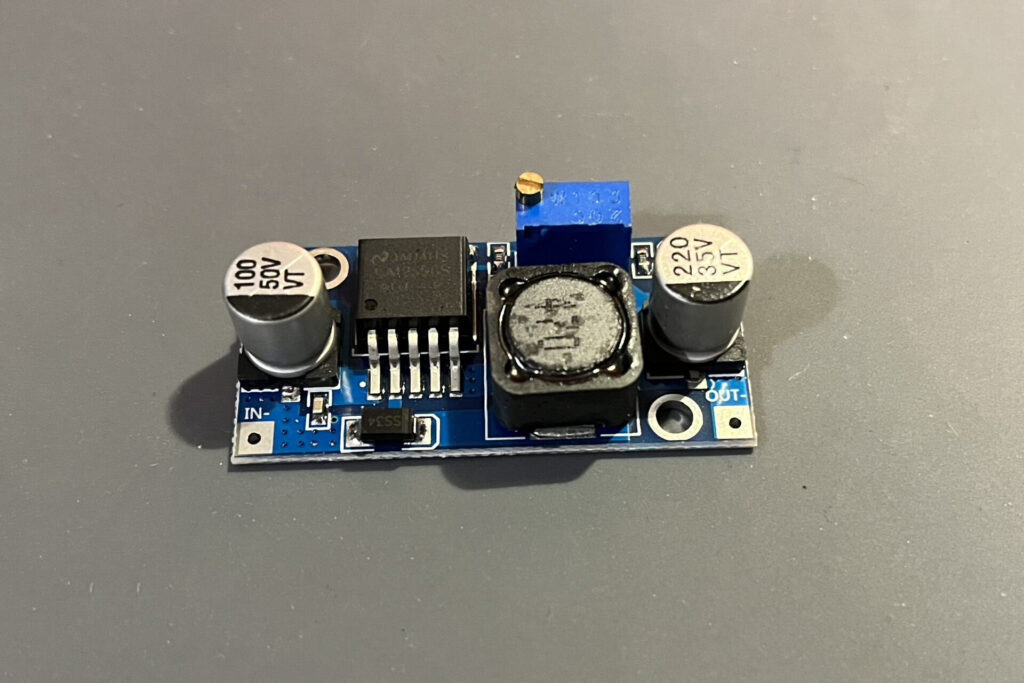
I would like to convert this 7.4V to 5V to power the servo motors and Raspberry Pi Pico. For this purpose, I prepared a step-down DC-DC converter. (Figure 5)
The following are equivalents (eBay and AliExpress)
https://ebay.us/fGRazn
https://s.click.aliexpress.com/e/_EG4dN5b
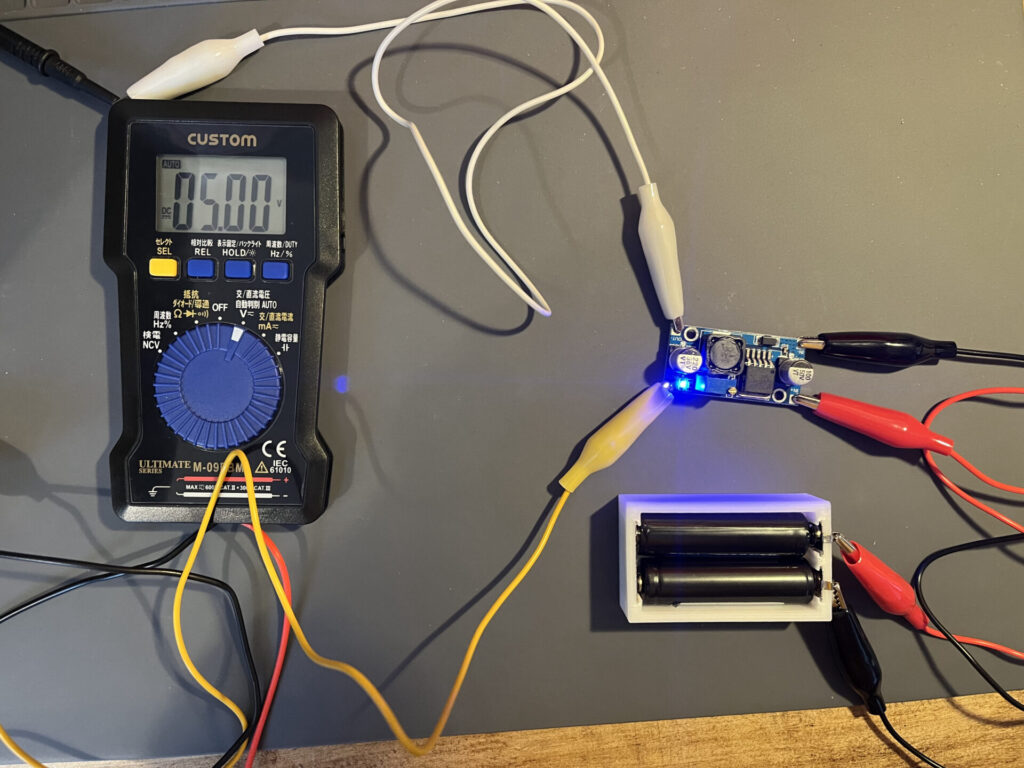
Let’s test it: convert from 7.4V to 5V output. (Figure 6)
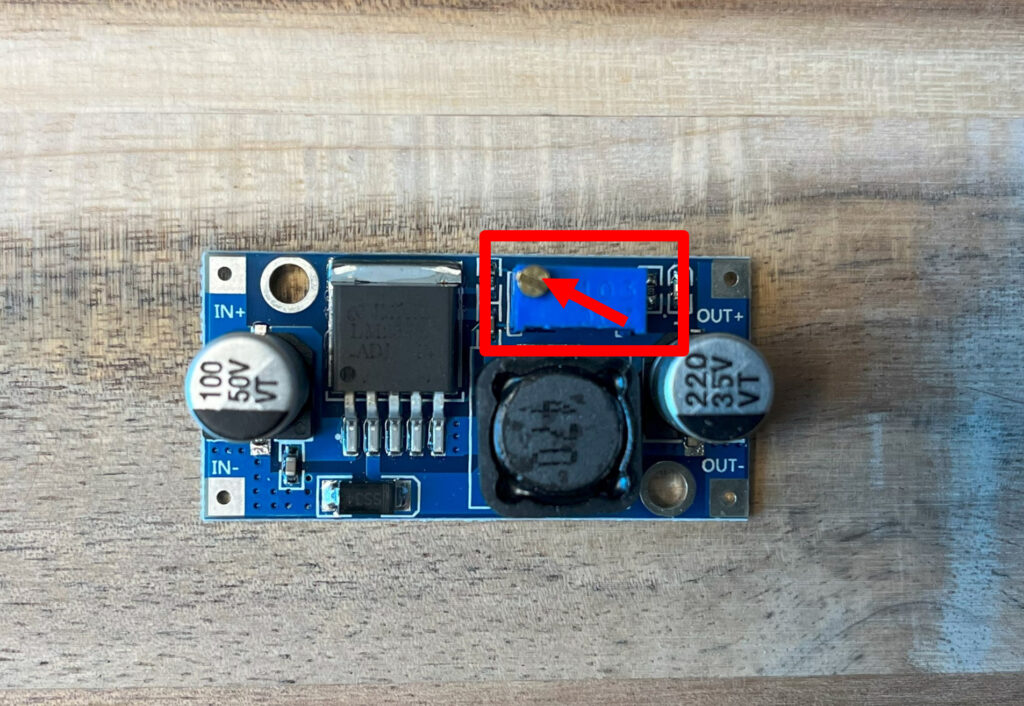
To adjust the output voltage, turn the knob on the volume (Figure 7). It was difficult to reflect the results unless I turned it more than I expected, as some of the reviews had mentioned. At first I thought it was broken. However, as I kept turning it, I was able to gradually adjust it.
After this, connect this between the battery and the robot’s circuit and you are done. (Figure 8)
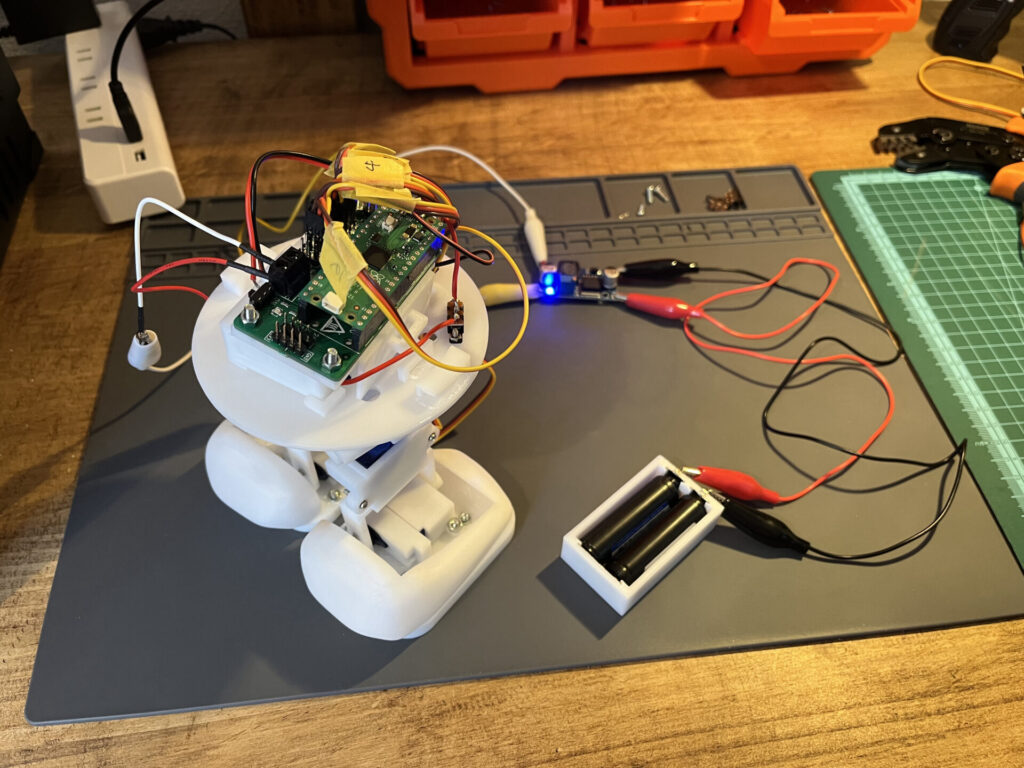
The power supply has now been successfully completed. Next time, I will aim to create more complex movements and mount sensors.
Next

For the latest status, check here.